
An overexposed video can ruin the whole production process. Nobody wants to deal with excessively bright or distorted colors, especially when they’ve worked hard to produce a top-notch video. iMovie is one of the leading video editors on Apple products, so why do some of the videos seem overexposed?
To fix an overexposed video in iMovie, follow these steps:
- Drag the movie clip into the editing area
- Click on the overexposed video clip to select it
- Click on the “Color Correction” button above the video preview
- Slide the Exposure slider to adjust the level of exposure
- The video should no longer be overexposed
In this post, we’ll show you how to fix an overexposed video on any Apple product, as well as why it’s overexposed in the first place. Enjoy!
If you are using iMovie and need to fix glitchy or choppy video, check out our complete guide to fixing glitchy video in iMovie.
How to Fix Overexposed Video in iMovie for Mac
To fix overexposed video in iMovie for Mac, try this:
- Click on the video you want to edit.
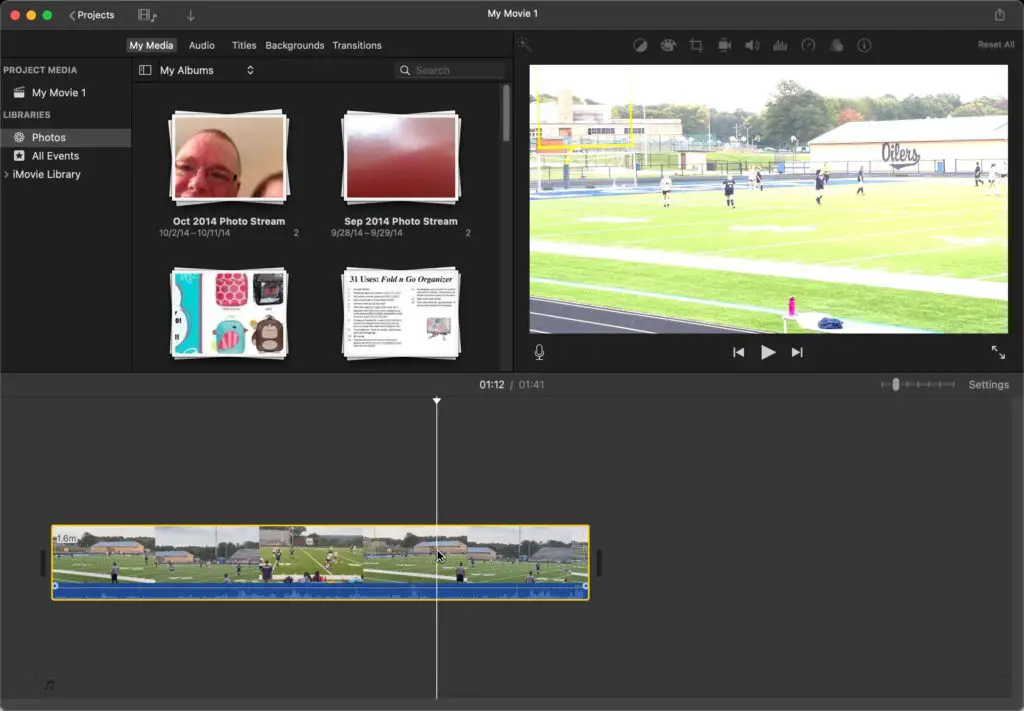
Open up iMovie on your Mac. Drag the video clip into your project timeline that is overexposed. Click on the clip to select it as shown above.
- Choose the ‘Color Correction’ option on the top right of the screen.
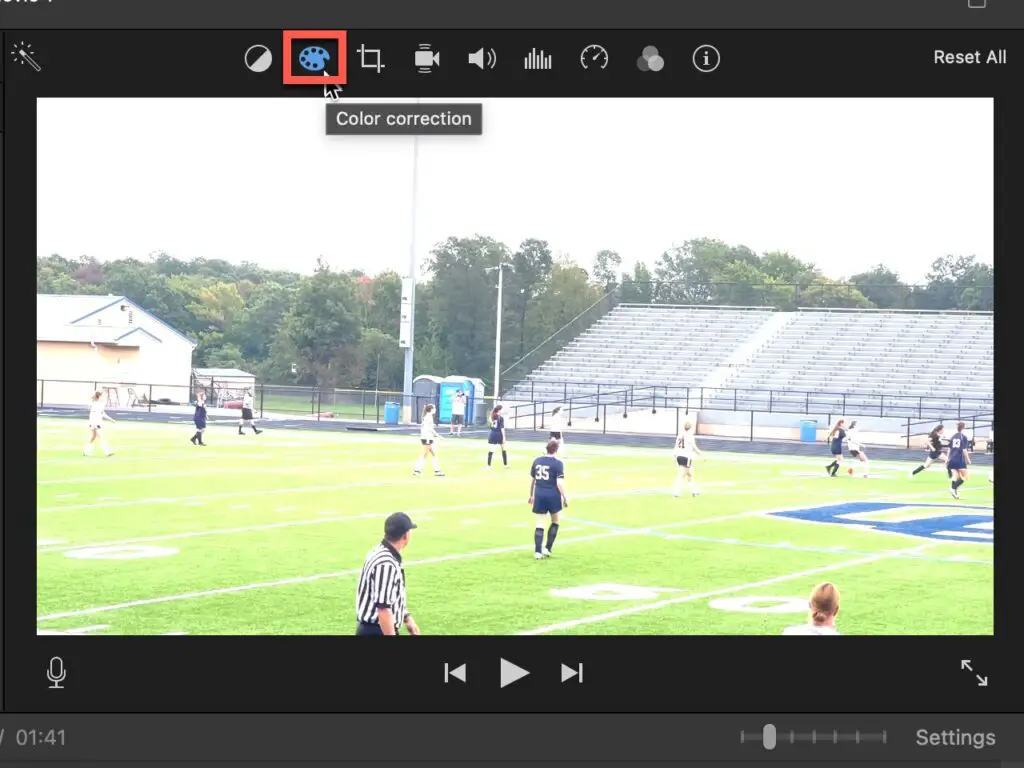
Next, above the video preview window, click the “Color Correction” button as shown above to bring up the exposure settings slider.
- Slide the exposure, temperature, and saturation settings as desired.
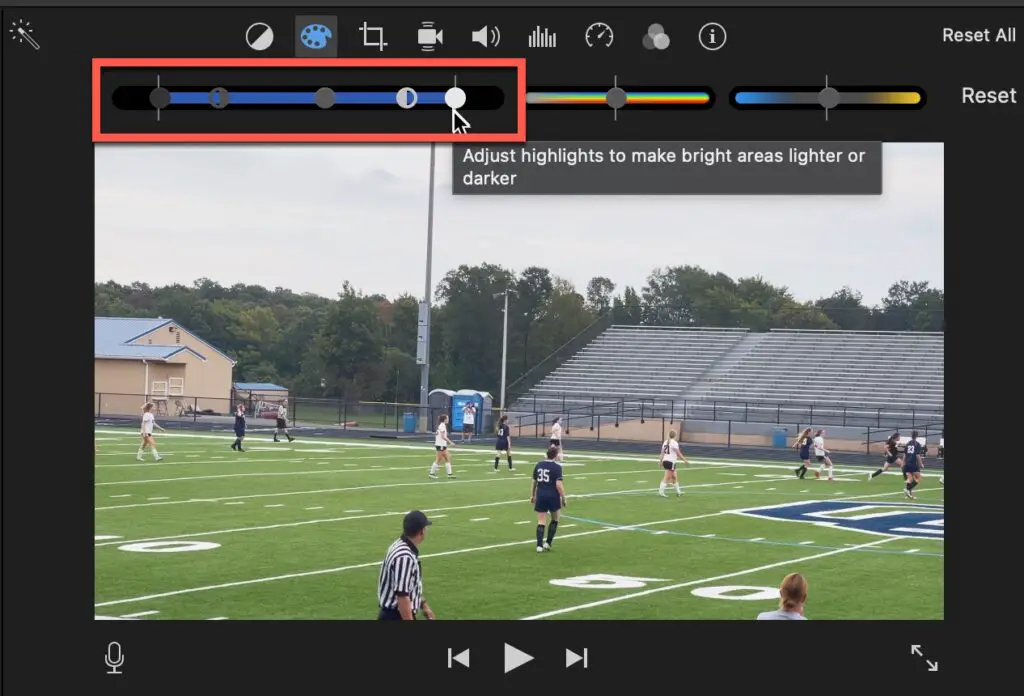
The left-most slider is the exposure settings slider. Adjust the points on the slider as necessary to fix the overexposed video as shown in the screenshot above. If you make a mistake, simply press Command-Z to undo the change.
- If this seems too complicated, use the “Auto Correction” feature
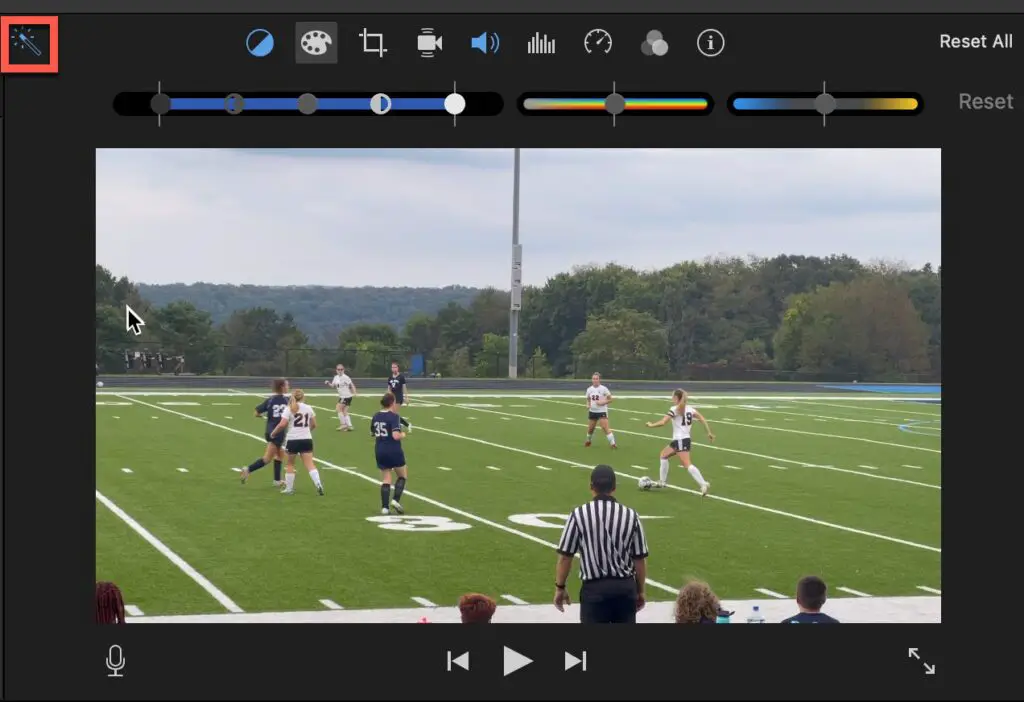
Apple also lets you choose the ‘Auto Correction’ option (the “magic wand” button shown in the screenshot above). It’s right next to the aforementioned color correction selection.
Keep in mind that this option also alters the saturation and temperature, not just the exposure. You can choose the autocorrect button and edit the changes after, too.
To use the auto-correction feature, simply click the magic wand button in the Color Correction screen to have iMovie automatically adjust the color, exposure, and temperature to what it believes are the optimal settings.
Looking to manage multiple audio tracks in iMovie? Our Ultimate Guide to Using Multiple Audio Tracks in iMovie has you covered with tips and tricks to boost your iMovie workflow!
Can You Fix Overexposed Video in iMovie for iPhone and iPad?
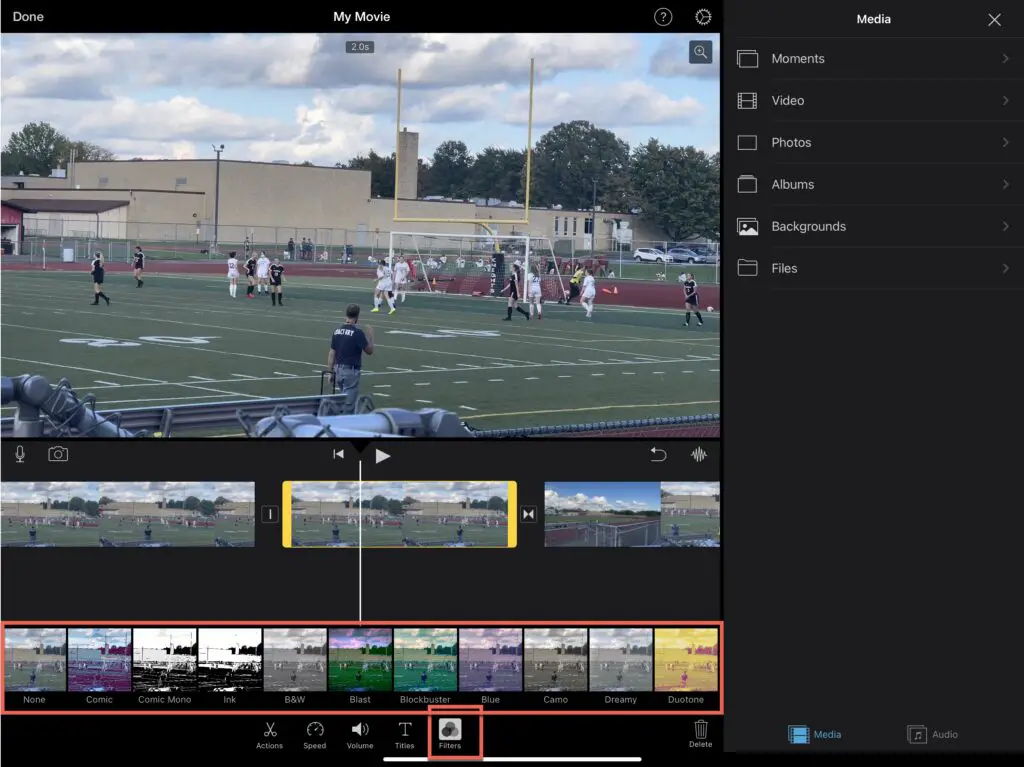
iMovie for iPhone and iPad does not offer you the ability to adjust the exposure. The only thing you can do in iMovie to adjust the exposure at all is via the pre-defined filters in iMovie for iOS as shown in the screenshot above.
If you want to ability to manually adjust the exposure for your video on the iPhone, I recommend doing this in the Photos app before importing it into iMovie.
To fix overexposed video in the Photos app on iPhone and iPad, do the following:
- Open the Photos app on your iOS device and select the overexposed video
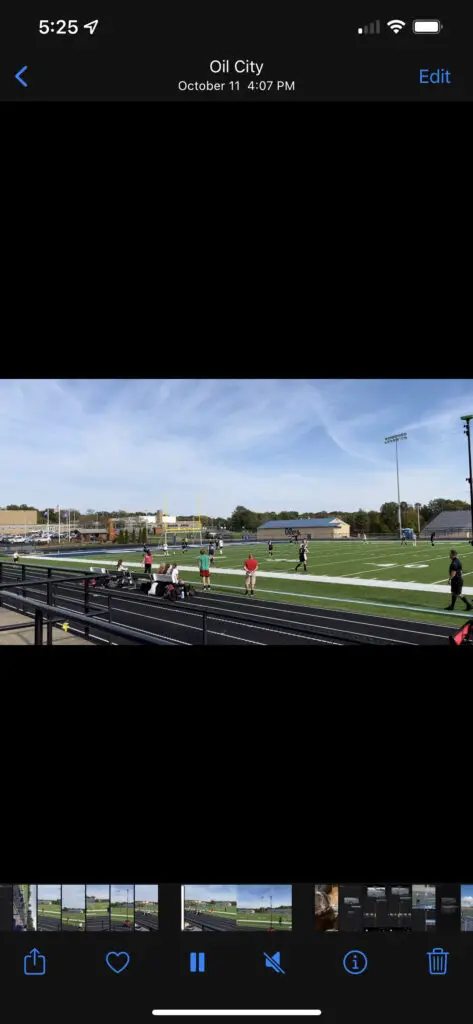
Open up the Photos app on your iOS device. Navigate to the video that is overexposed and select it as shown above.
- Click the “Edit” Button
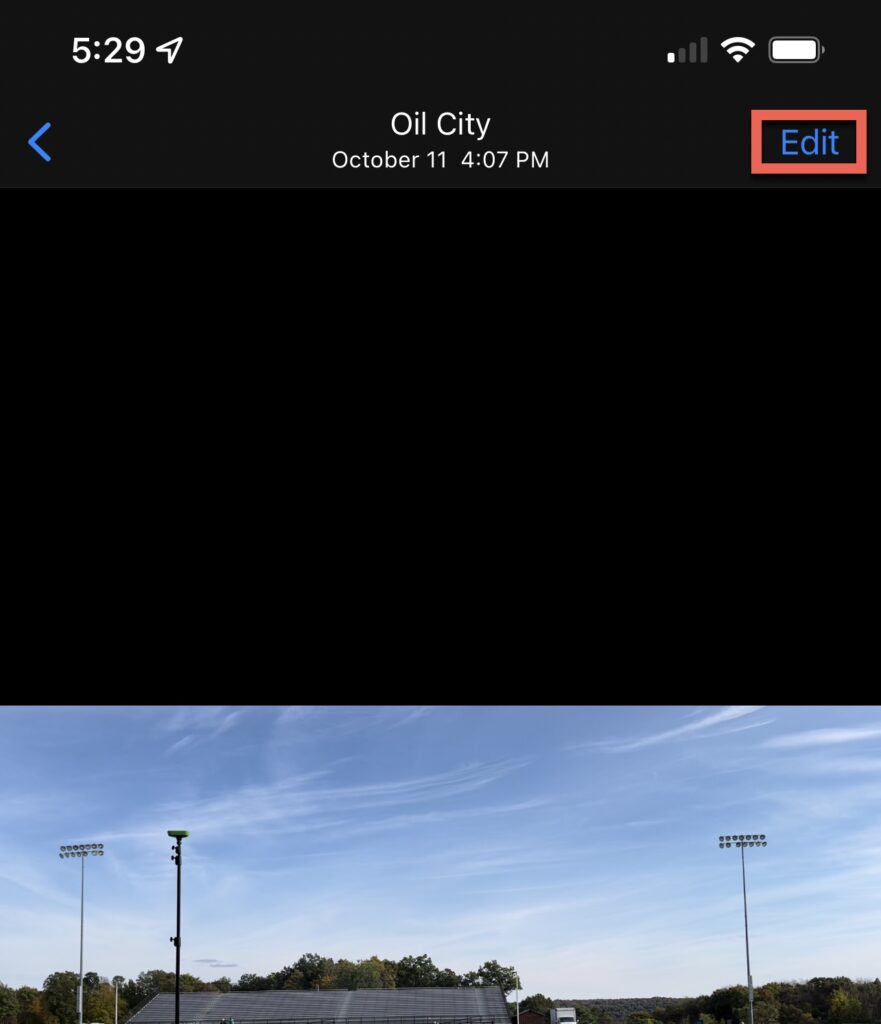
To start the editing process for this video in Photos, click on the “Edit” button as shown in the screenshot above.
- Click on the “Adjust” button
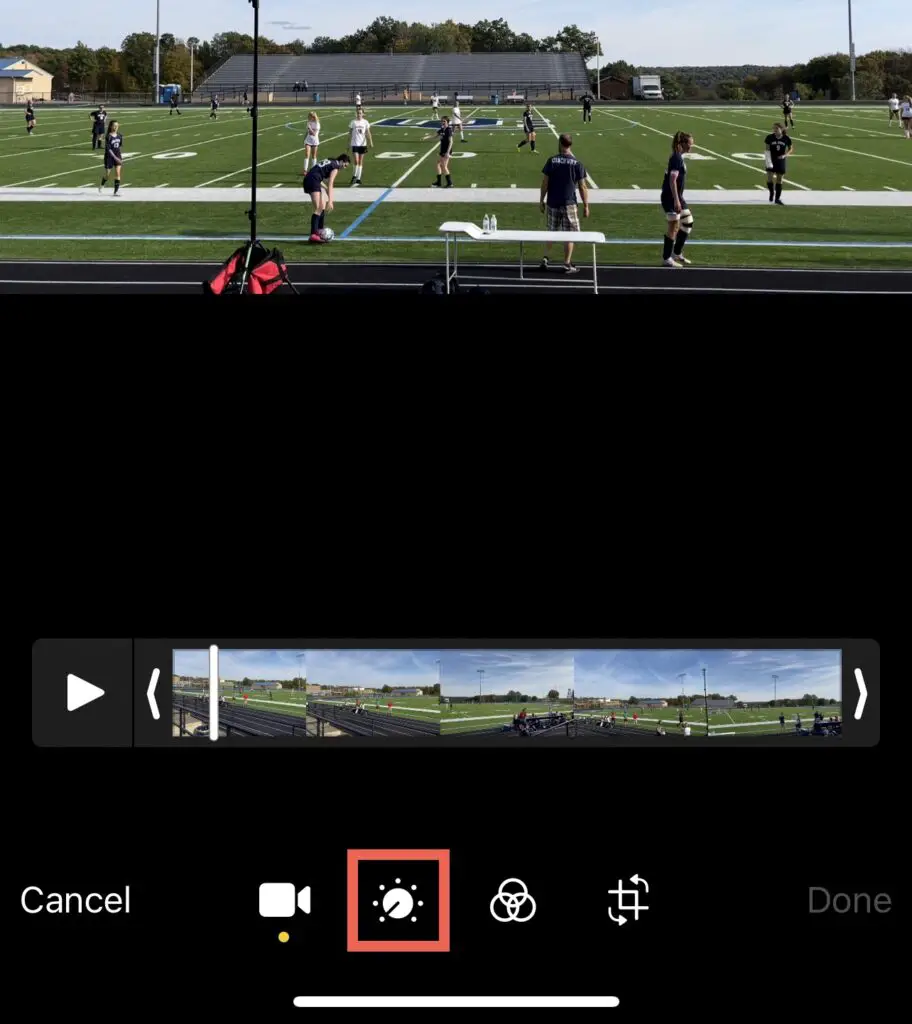
The editing buttons should appear on the bottom of the Photos window as shown above. Click on the “Adjust” button shown above to bring up the exposure adjustment options.
- Press the “Exposure” button and adjust the slider as necessary
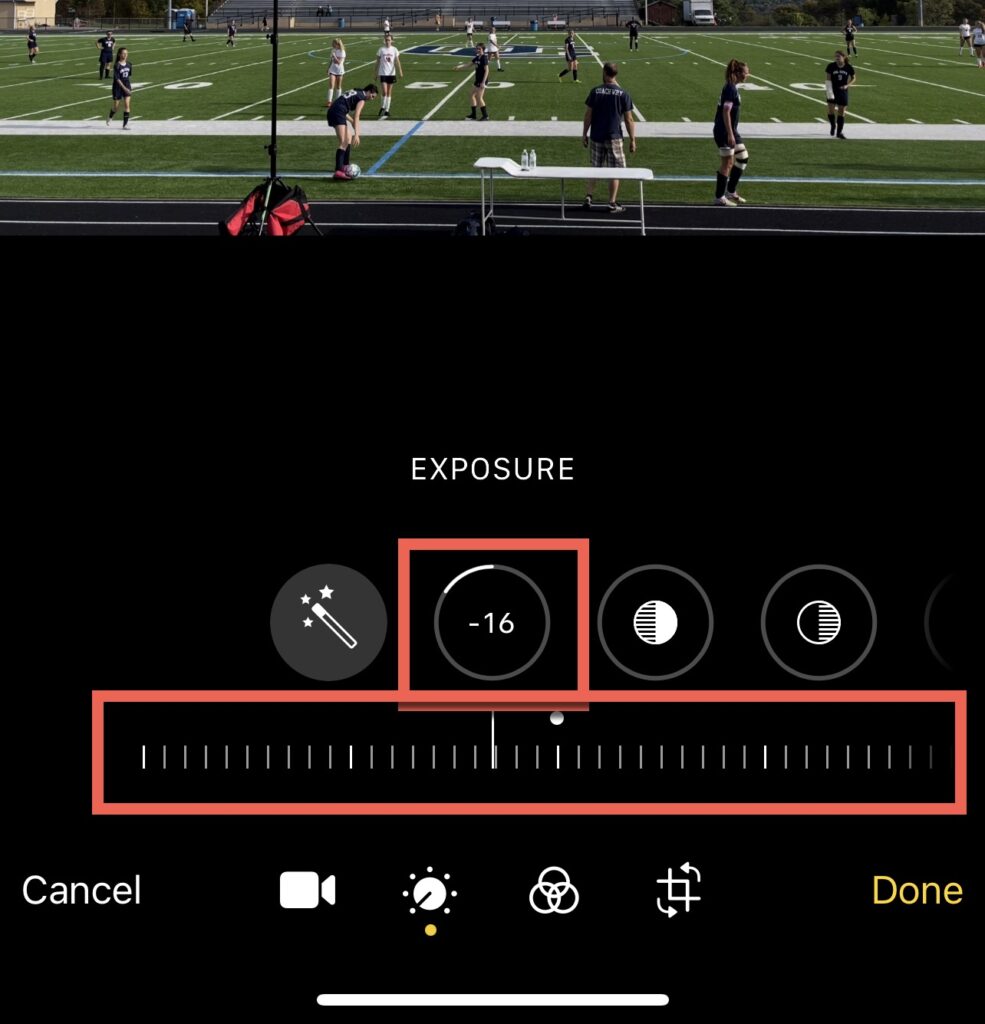
Click on the “Exposure” button shown above to bring up the exposure slider. Slide the slider to the left or right until you have the exposure set up the way you want.
Click the “Done” button to apply the exposure change to the video clip.
You can now import this video clip into your iMovie projects knowing that the video clip is not overexposed.
Looking to find and add music to your iMovie projects? We got you covered with our Guide to Music in iMovie.
Why Is My Video On iMovie Overexposed?
Your video on iMovie is overexposed because you either used HDR mode when filming the clip, or you were using a high-brightness setting. Many smartphones let you choose a Pro mode, which puts the exposure in your hands. Making these minor changes can create an extreme over-saturation or brightness issue.
Here’s a list of detailed reasons your iMovie video looks overexposed:
- Insider Paper points out that the issue could be a lack of compatibility. Many apps aren’t destined to handle Apple’s HDR mode, but it’s only a matter of time until they make the switch. This issue can be solved with iMovie’s aforementioned adjustments, but hopefully, they won’t be required in the near future.
- Manual adjustments can make your phone’s photos look different when you open them in video editors. Whether you adjust a picture or a video, they might not look the same when you open them in an app designed to handle precise details. The stock camera app typically doesn’t show all of the information until you upload it.
- If you’re using a third-party camera with your iPhone or iPad, it might not look the same on iMovie. This issue occurs because many low-quality third-party apps add too much saturation and exposure to a video that you might not notice until you open the clip in iMovie or another video editing software.
How To Fix Overexposed HDR Video In iMovie?
Fixing an overexposed HDR video is quite simple. All you have to do is:
- Drag the video clip into the editing timeline
- Choose the color correction option
- Choose the ‘Auto’ option.
This method automatically changes the video to look smooth without being loaded with too much color. It also helps align the contrast, saturation, and temperature.
Some smartphones let you change the HDR settings before and after you record a video on the camera screen. Simply look for the gear symbol (Settings icon) and choose ‘HDR’ to see what the clip will look like with and without it. This option can save a lot of time, often preventing you from having to use iMovie for such small edits.
Looking to Share Your iMovie Projects or simply transfer them to another device? Our Detailed Guide to Sharing and Transferring iMovie Projects has you covered with tips and tricks to move your content quickly and easily.
Sources
- It Still Works: How to Fix Overexposed Video
- Insider Paper: iPhone 12 videos too bright or overexposed, users complain
- Mastering Photography Tips: How to Improve Overexposed Video
There is an amazing iMovie course, The Complete Guide to iMovie from Beginner to Expert that I recommend you check out.
