
When working on a video in iMovie, there can be times when you want to stack or layer multiple audio tracks in your video. But how do you do it? This tutorial will teach you how to add and stack multiple audio tracks in a single iMovie project.
How to Stack Audio Tracks in iMovie for Mac
- Open up iMovie to the project you want to add multiple audio tracks to

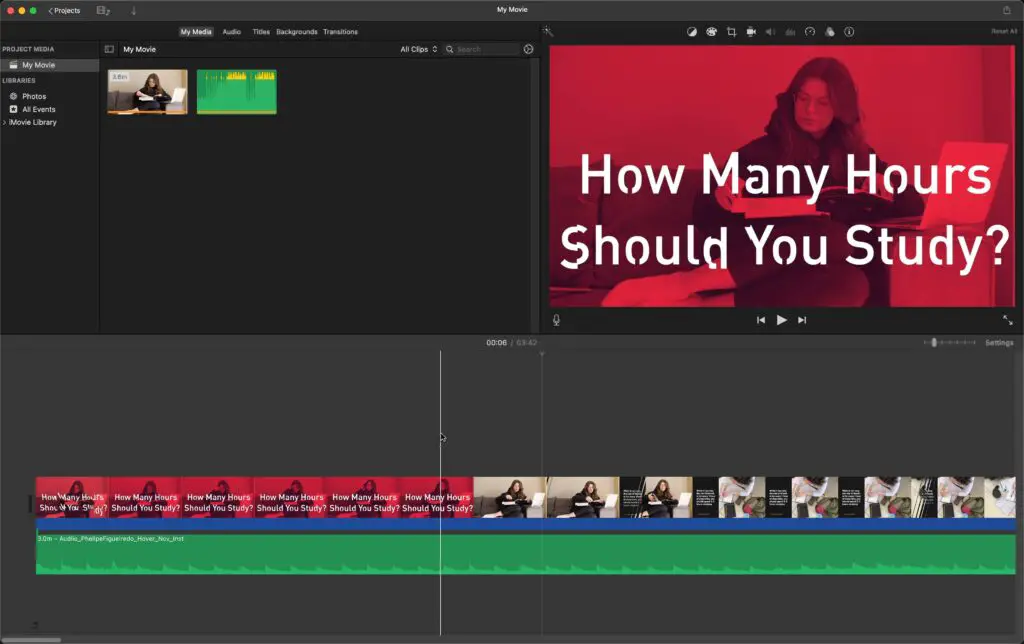
Open up iMovie. Next, either create a new project or open an existing one that you want to add multiple audio files to in iMovie.
- Open Finder and navigate to the folder containing your audio files
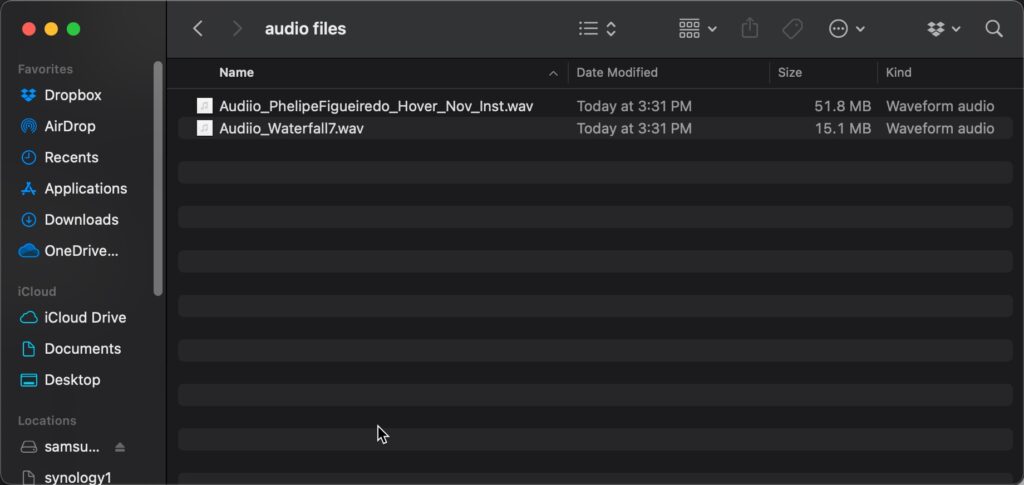
Next, open up Finder and navigate to the folder(s) that contain the audio files you want to use in your iMovie project. For the purposes of this tutorial, I have two audio files: a song and a waterfall sound effect.
- Click and drag the first audio file you want to add into your timeline and position it where you want it
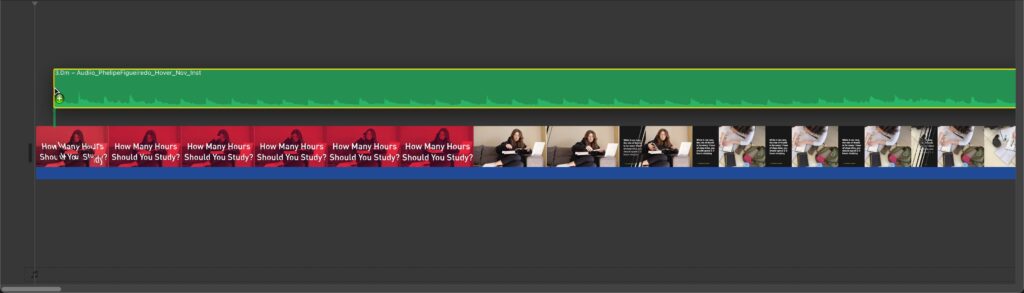
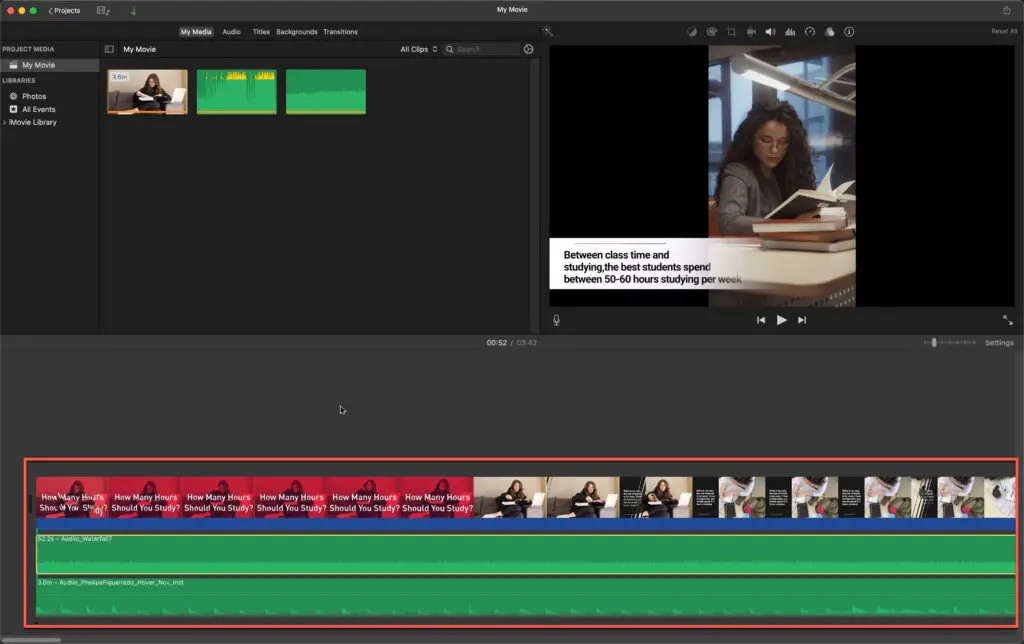
Click on the first audio file you want to add and, while still holding down the mouse button, drag that file into the project timeline as shown in the screenshot above. R
Release the mouse at the position you want the audio to begin in the video. Your audio file should now be positioned in your iMovie project timeline.
- Next, go back to Finder and drag in the next audio track you want into your iMovie project timeline
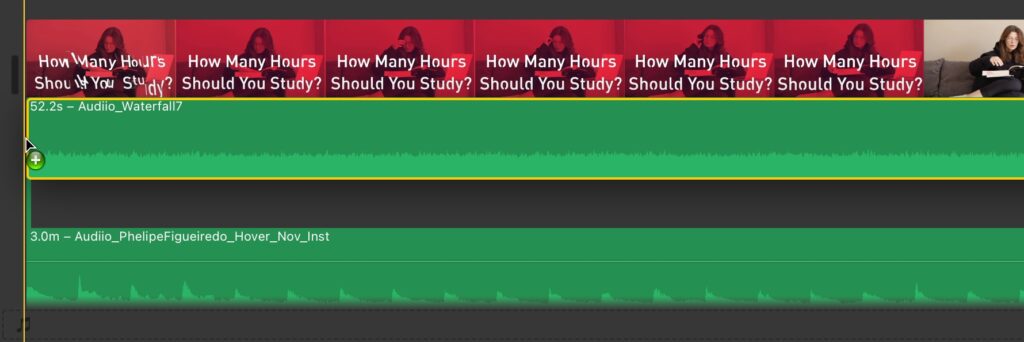
Go back to Finder. Click and drag the second audio file and place it either above or below the first audio file. This will stack the audio files and they will both play at the same time.
We will need to adjust the audio levels to make the layering of the audio files pleasing to listen to. For this tutorial, we want to make the waterfall file play much lower than the music file.
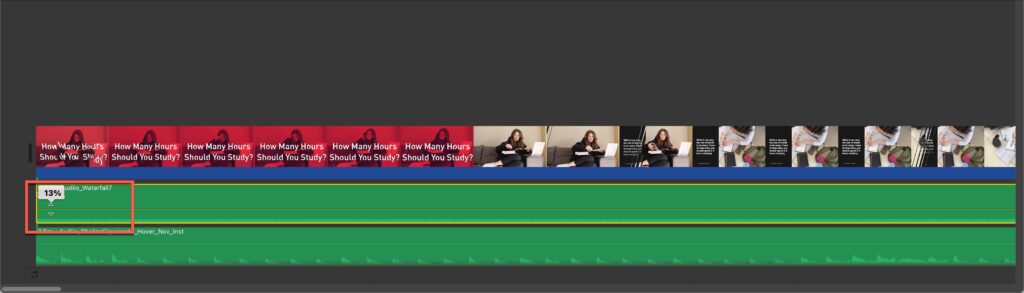
- Adjust the volume levels of each track by clicking on the audio track and dragging the volume line up or down to increase or decrease the audio volume levels of the track
When you first stack multiple audio files, it will sound overpowering. You will need to adjust your audio tracks volume levels to ensure a comfortable and desired listening experience.
Fortunately for us, iMovie makes adjusting the audio levels of each track simple to do.
Click on the audio track you want to edit to select it. You should see a horizontal line. Click on that line, hold your mouse button, and drag it up or down to adjust the volume level
- Dragging up on the line increases the volume level
- Dragging down on the line decreases the volume level
Do you have videos that are glitchy and want to fix them? Check out our detailed guide to fixing glitchy video in iMovie.
If you are looking for improve your video quality at a reasonable price, you really should check out the Canon M50. I use this camera for my main YouTube channel and it does an amazing job at a budget price.

- 24.1 megapixel (aps-c) cmos sensor with iso 100-25600 (h: 51200).
- Digic 8 image processor with auto lighting optimizer.
- Improved dual pixel cmos af and eye detection af (still/movie servo af support).
- 4k uhd 24p and hd 120p for slow motion.
- Vari-angle touchscreen lcd convenient for vlogging and various composition.
For more information on the Canon M50, check it out here.
How to Stack Audio Tracks in iMovie for iOS (iPhone and iPad)
- Open up iMovie on your iPhone or iPad
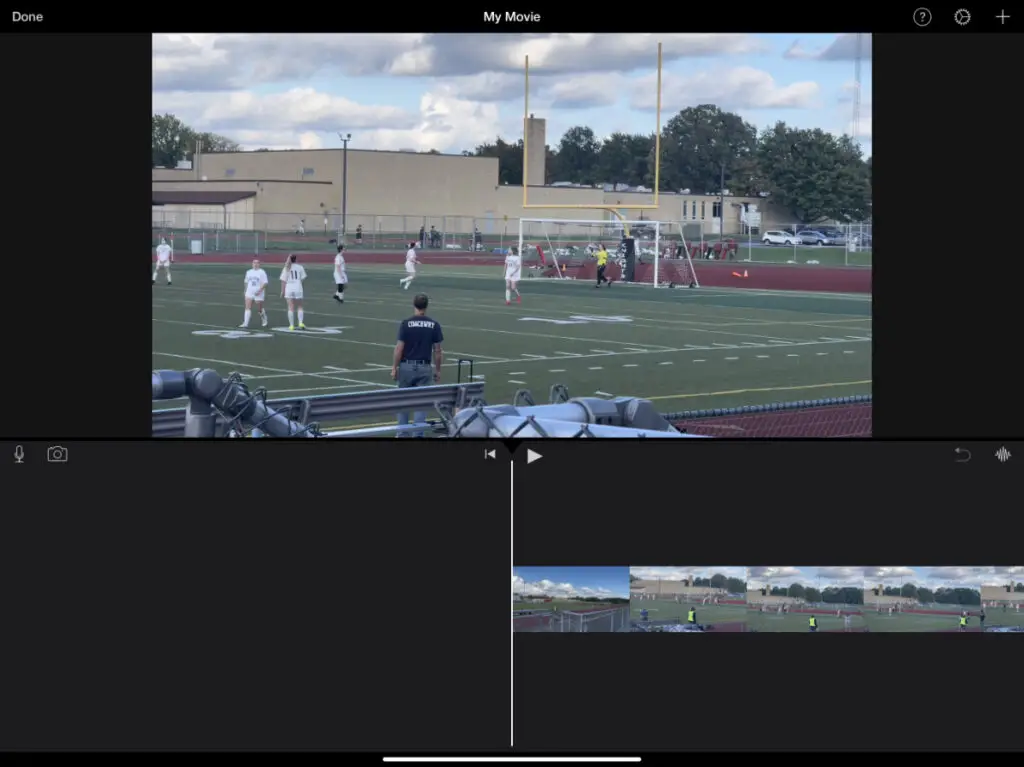
Open up iMovie on your iOS device. For our tutorial, I will be using iMovie for iPad but the steps are the same for the iPhone.
Open the project you want to add audio to or create a new project.
- Click on the “+” button in the upper-right hand corner of the iMovie window
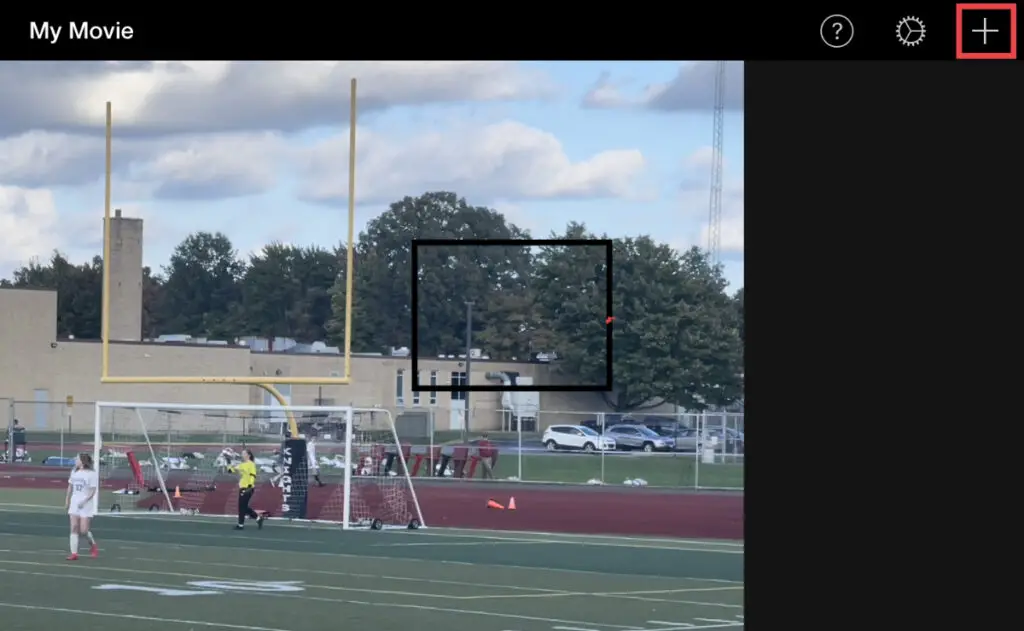
Next, click on the plus button (+) in the upper right-hand portion of the iMovie window. This will bring up the add media options.
- Click on the “Audio” tab
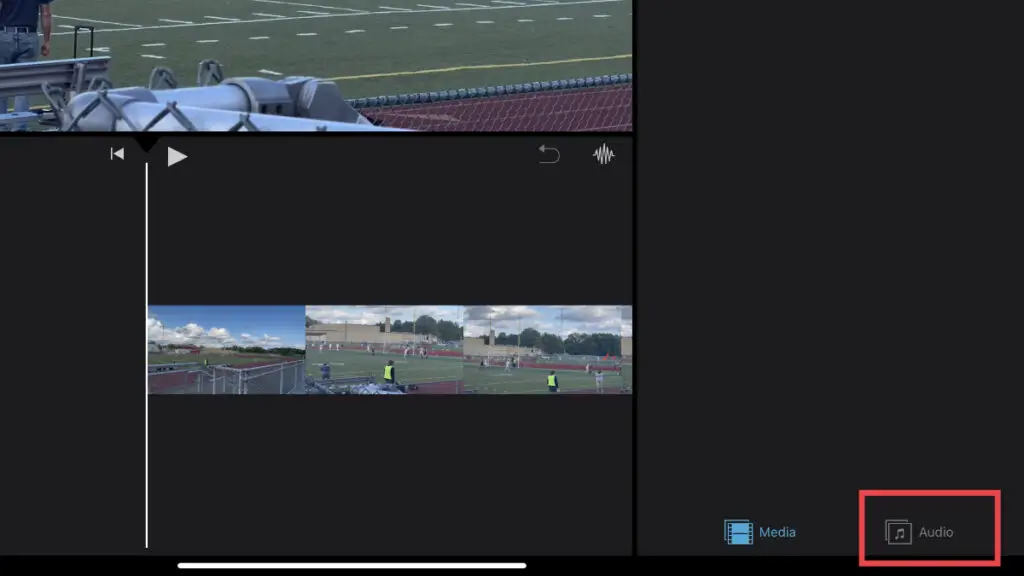
At the bottom right-hand corner of the screen you should now see two tabs:
- Media
- Audio
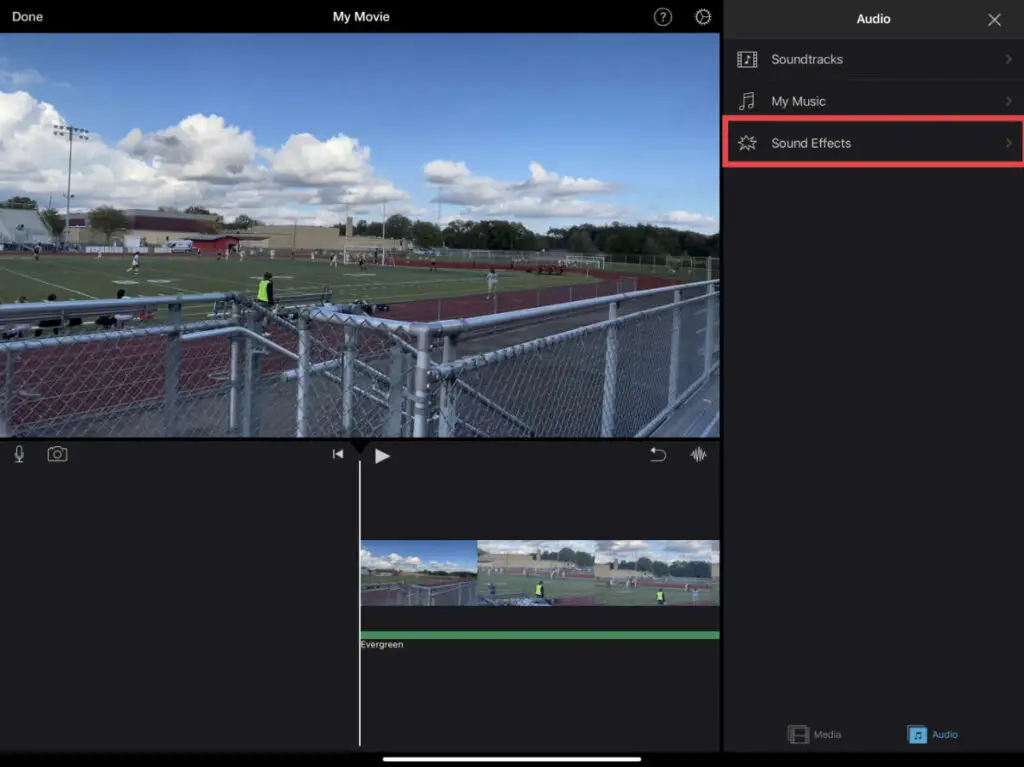
Click on the “Audio” tab to bring up the audio window.
- Select with type of audio you want to use
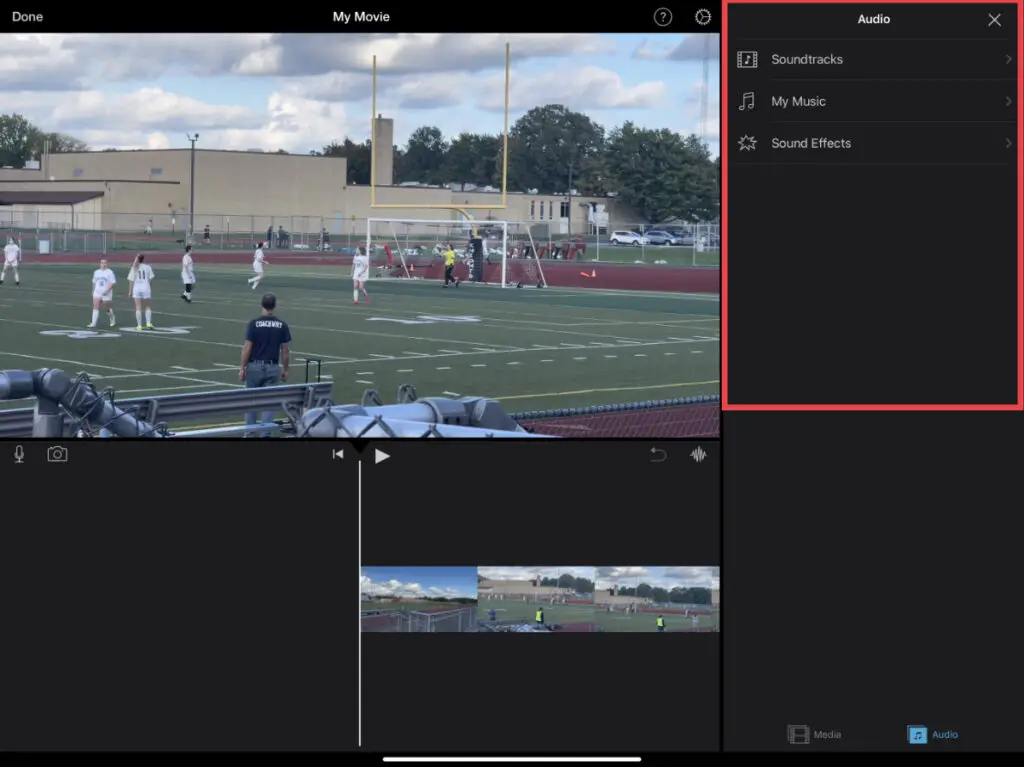
The Audio tab provides three (3) options for adding audio to your iMovie project:
- Soundtracks
- Music provided by Apple in iMusic
- My Music
- Music in your music library
- Sound Effects
- Sound effects provided by Apple in iMovie
Select the option you want. For our tutorial, I will select “Soundtracks”.
- Select the audio track you want to add by clicking on it and pressing the “+” button
Scroll down the list of audio files in the list until you find the one you want. You can listen to each of them by simply pressing on them.
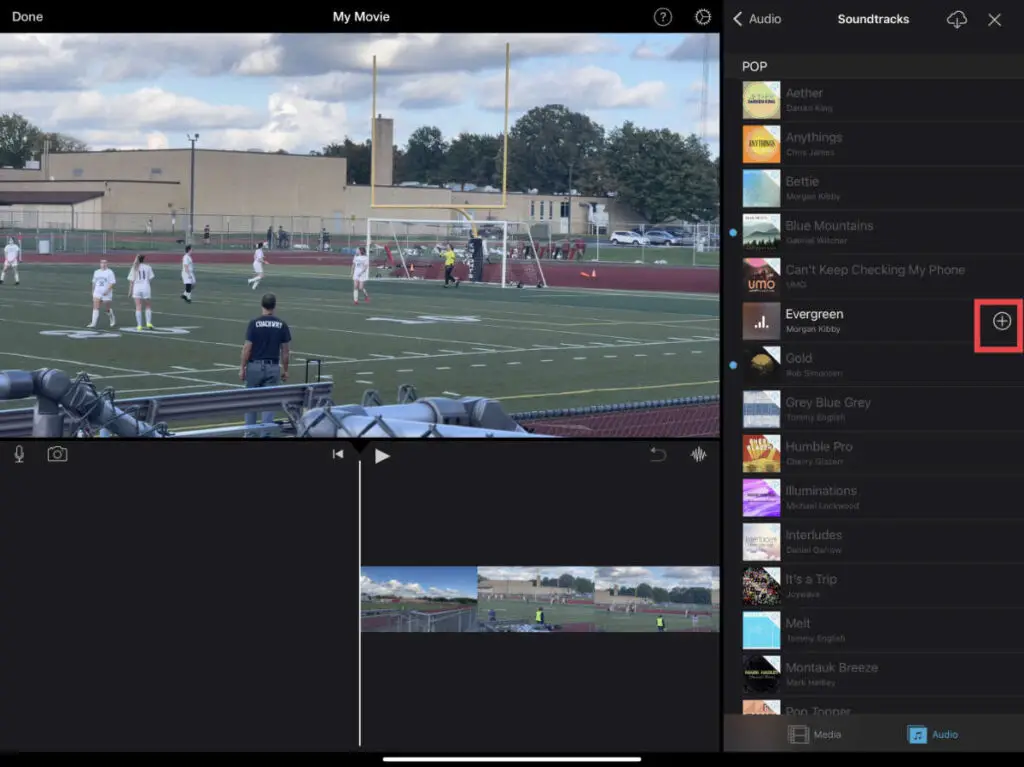
Once you hear something you want to add to your iMovie project, select it and press the “+” button shown in the screenshot above.
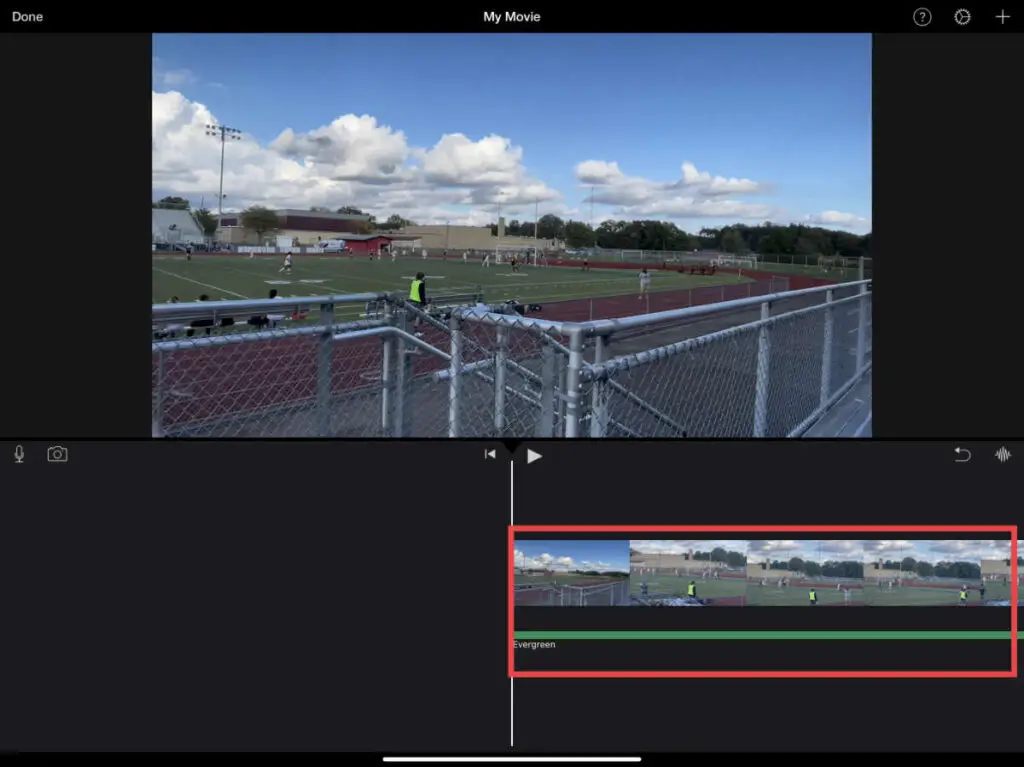
Your audio file should now appear in the iMovie project timeline underneath the video.
- Add a second audio file to iMovie project
Next, we need to add a second audio file to our iMovie project. Go back to the “Audio” tab. This time, we will select the “Sound Effects” option as shown in the screenshot above.
- Select the Audio File to Add to Your iMovie Project
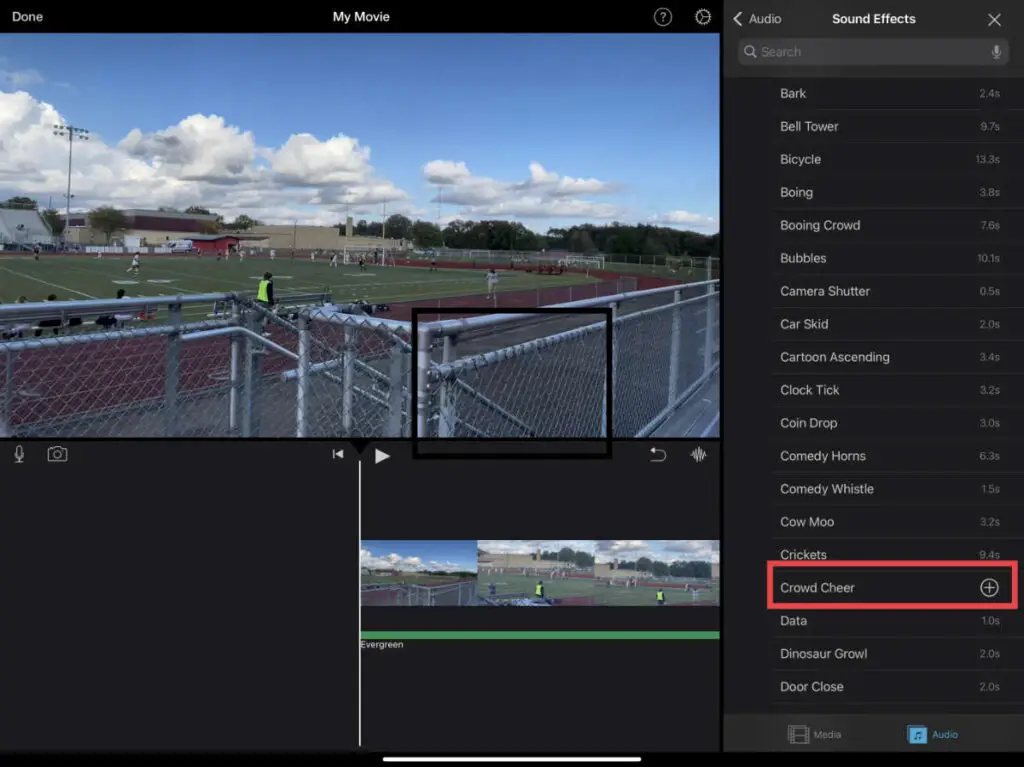
Select the audio file you want to use by pressing on it. Give it a listen and if you want to add it to your iMovie project, press on the plus (+) button as shown in the screenshot above.
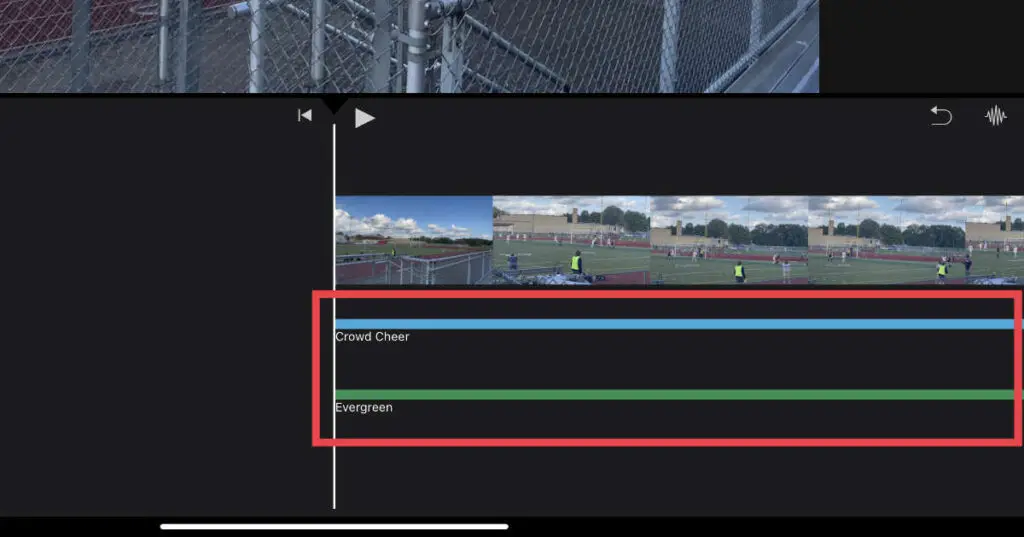
You should now see your audio file in the timeline. Our audio files are stacked and both will played at the same time. We need to adjust the volume levels.
For our tutorial, we will adjust the volume of the crowd cheer down.
- Press on the audio track you want to adjust the audio for, press the “Volume” button and adjust the volume using the volume slider
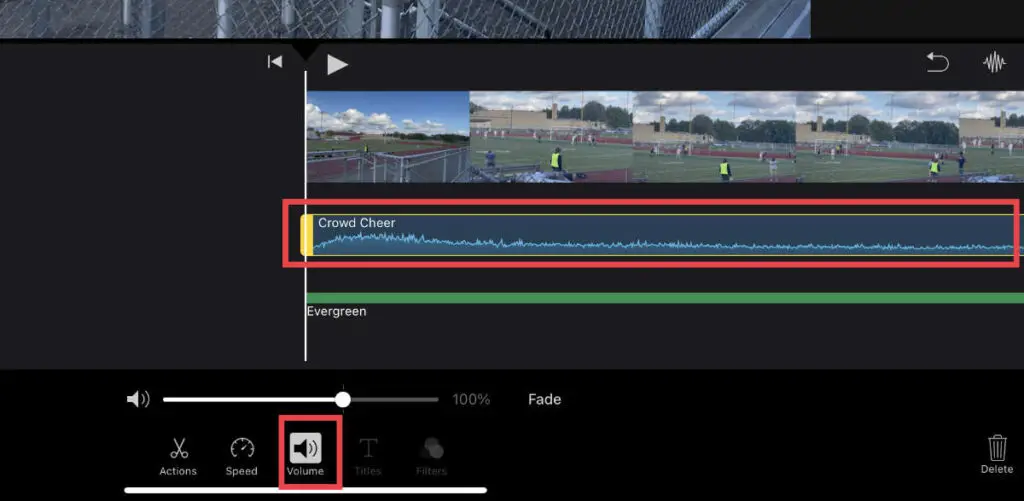
Press on the track you want to adjust (in our case, the crowd cheer). Next, press on the “Volume” button as shown in the screenshot above.
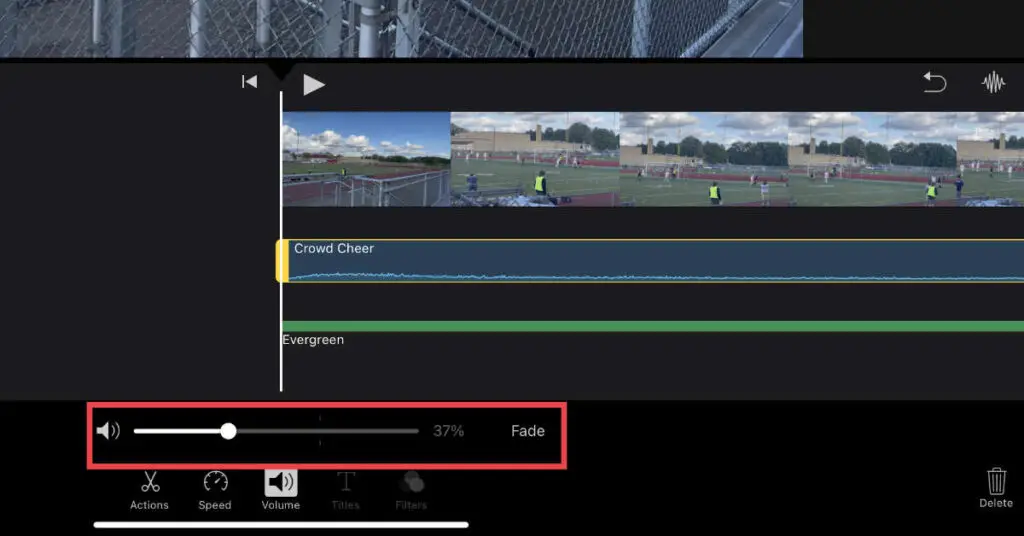
You should now see a volume slider like the one in the screenshot above. Slide it to raise or lower the volume of the selected audio track.
For our tutorial, I slid it left to lower the volume of the clip.
There is an amazing iMovie course, The Complete Guide to iMovie from Beginner to Expert that I recommend you check out.