
When you make a video in iMovie, it preserves the voice pitch. Some people record in their normal voice and then change the pitch in iMovie, while others record in a different voice. You can adjust the voice pitch regardless of what voice you use to record the movie. It is easy to do, as all you need to do is follow a few simple steps.
If you are looking for a comparison of iMovie for Mac and iMovie for iPad, check out our iMovie for iPad vs iMovie for Mac Guide.
How to Make Voice Deeper or Higher in iMovie for Mac
To make your voice deeper or higher in iMovie on your Mac, do the following:
- Open up iMovie to the project containing your video clip
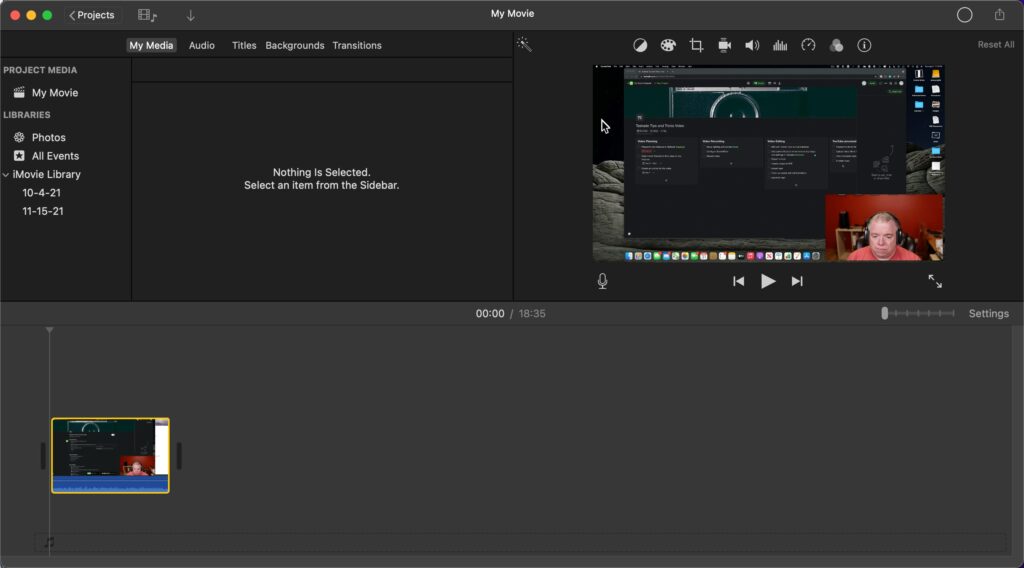
Open iMovie. Next, open up the project containing the video clip that you want to alter the voice pitch for or create a new project and add a video clip.
- Choose the clip where you want to make the voice deeper.

Select the clip you want to change the pitch for by tapping on it. Scroll to the part where you want to start the voice pitch change by sliding the cursor as shown above.
- Right-click on the clip and select “Split Clip” from the menu.
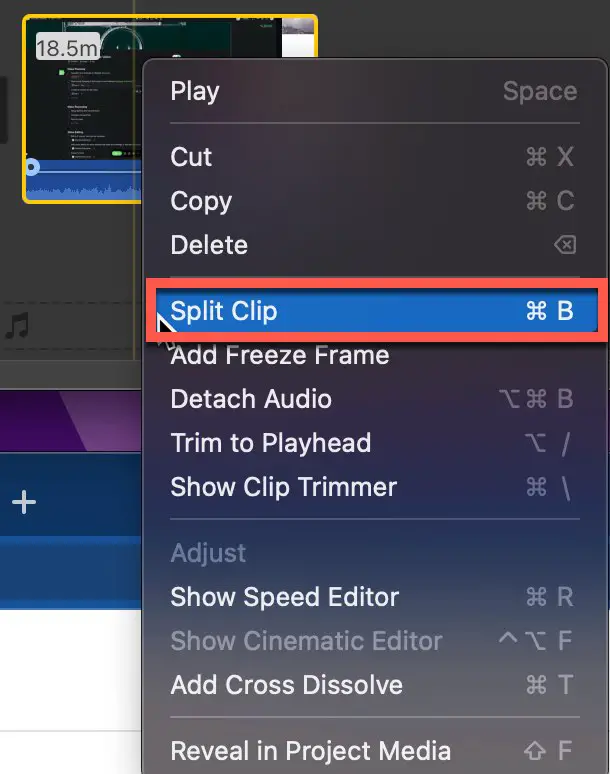
You can either alter the pitch of the entire clip or only part of the clip by using the split clip function. To split the clip, scroll to the part of the clip where you want to start the voice pitch change. Right-click on the clip and select “split clip” from the available options as shown in the screenshot above.
- Select the clip you want to change, and click on the three dots to pull down the menu.
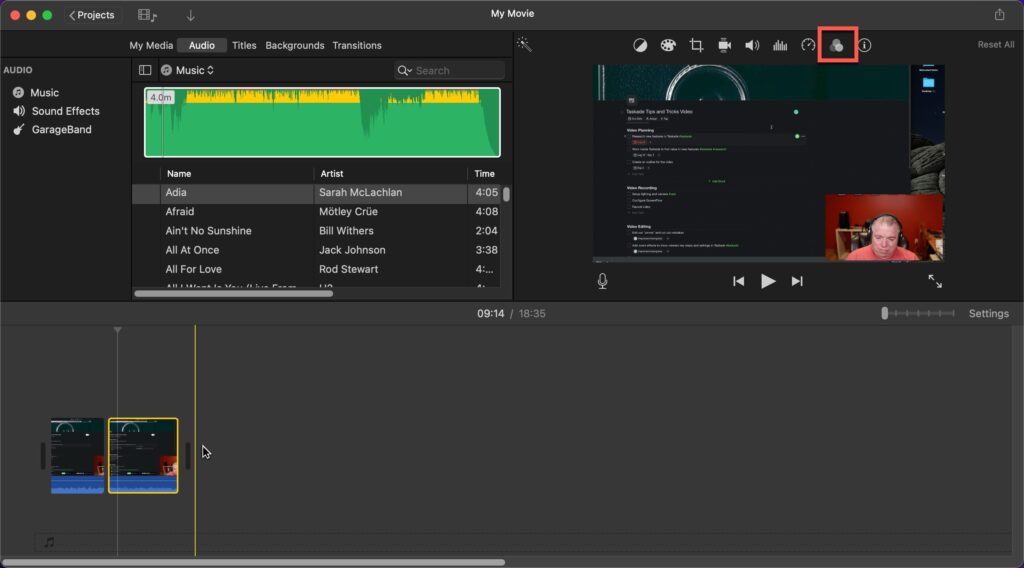
Next, select the clip and click on the “three dots” button as shown in the screenshot above.
- Choose audio effects so you can make changes.
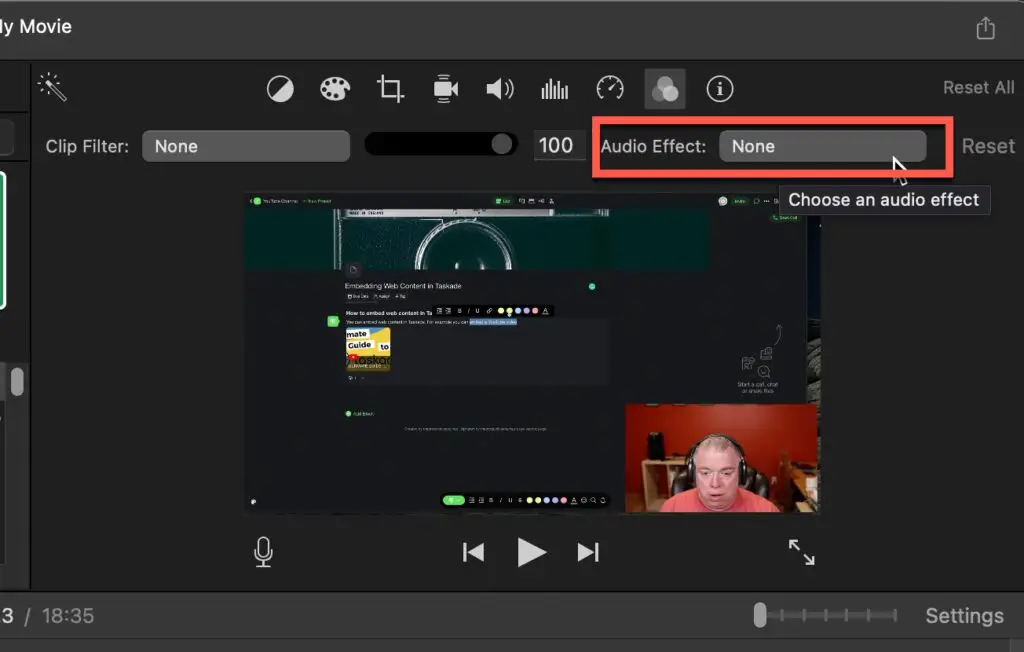
Your screens should look like the one above. Click on the button to the right of the “Audio Effect” label to bring up the audio effect options.
- Select the audio effect option you want to apply
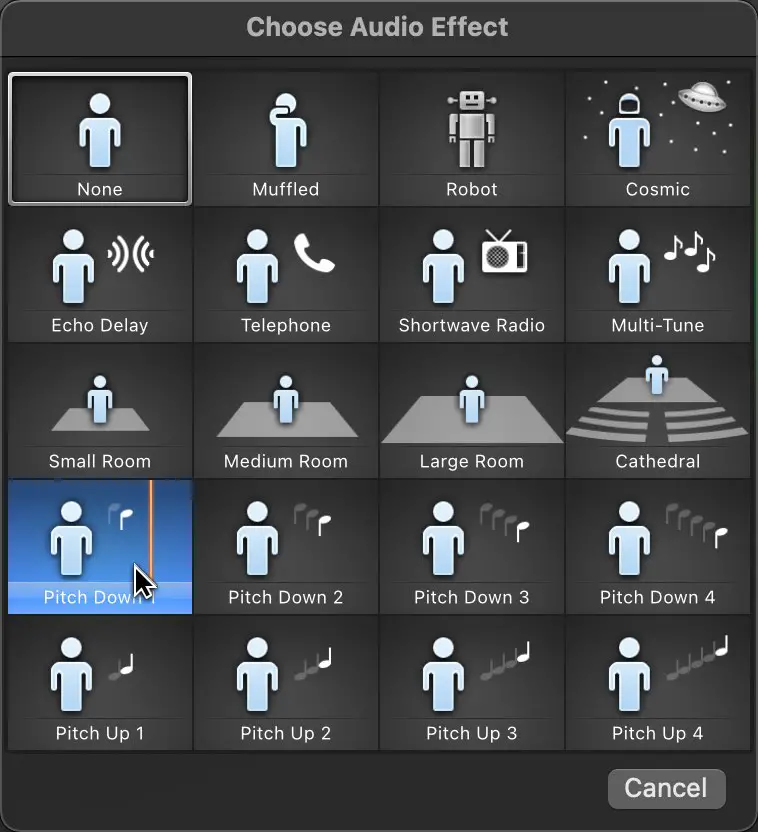
You will see a lot of options for voice pop up on the left side of the screen. You can choose to make your voice sound muffled, robotic, or have an echo delay. If you want to make your voice higher, choose Pitch Up 1, 2, 3, or 4. If you want to make your voice deeper, you can choose Pitch Down 1, 2, 3, or 4.
- Choose the one that makes your voice as deep or as high as you want it to be.
Once you finish, just save the file, and the voice will be deeper wherever you set it. It is actually quite easy to do once you know how to follow the steps.
If you want to learn how to manage your iMovie library, check out our Ultimate Guide to Managing Your iMovie Library.
How to Make Voice Deeper or Higher in iMovie for iPhone
To make voice audio sound deeper or higher in iMovie, do the following:
- Open up iMovie and add the video clip that contains the audio you want to deepen
Open the iMovie app on your iPhone. Navigate to the project containing the video clip that you want to change the voice pitch for.
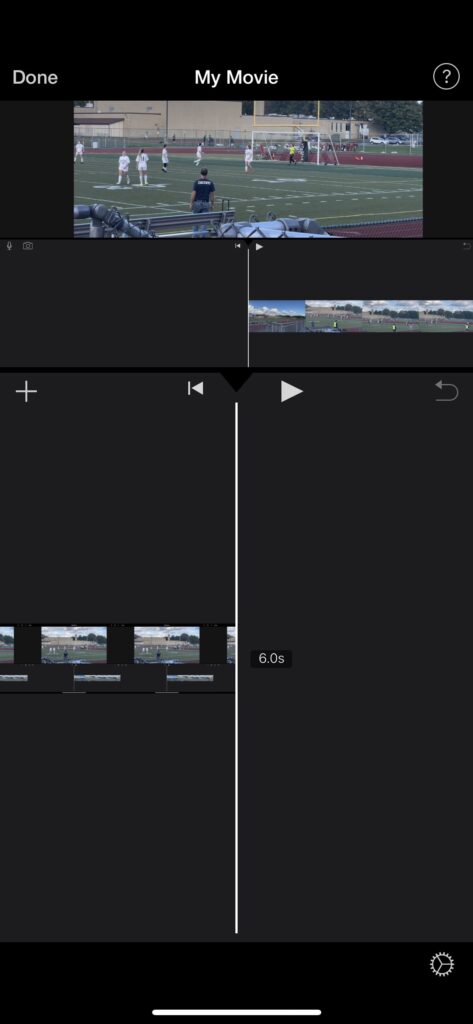
- Drag the cursor to where you want to start making the voice audio sound deeper
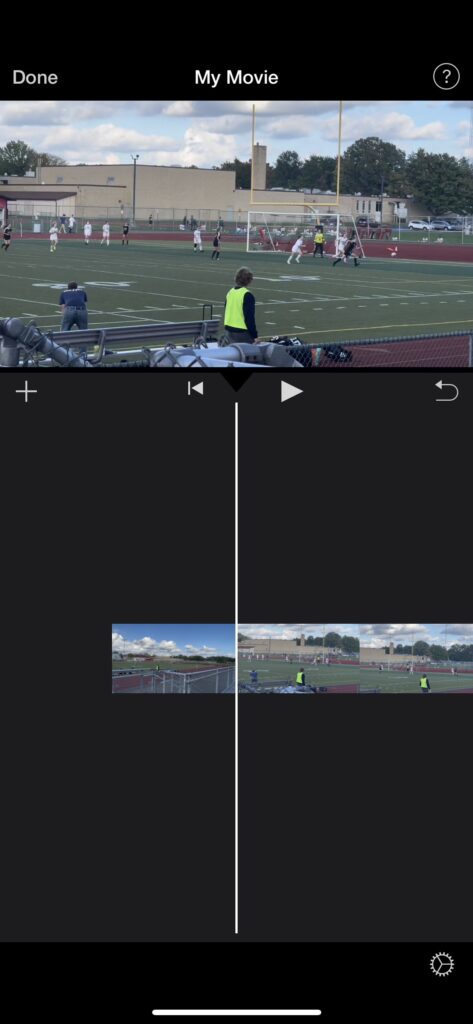
Drag the cursor line to the point where you want to start changing the pitch of the voice audio.
- Tap on the clip and tap “Split”
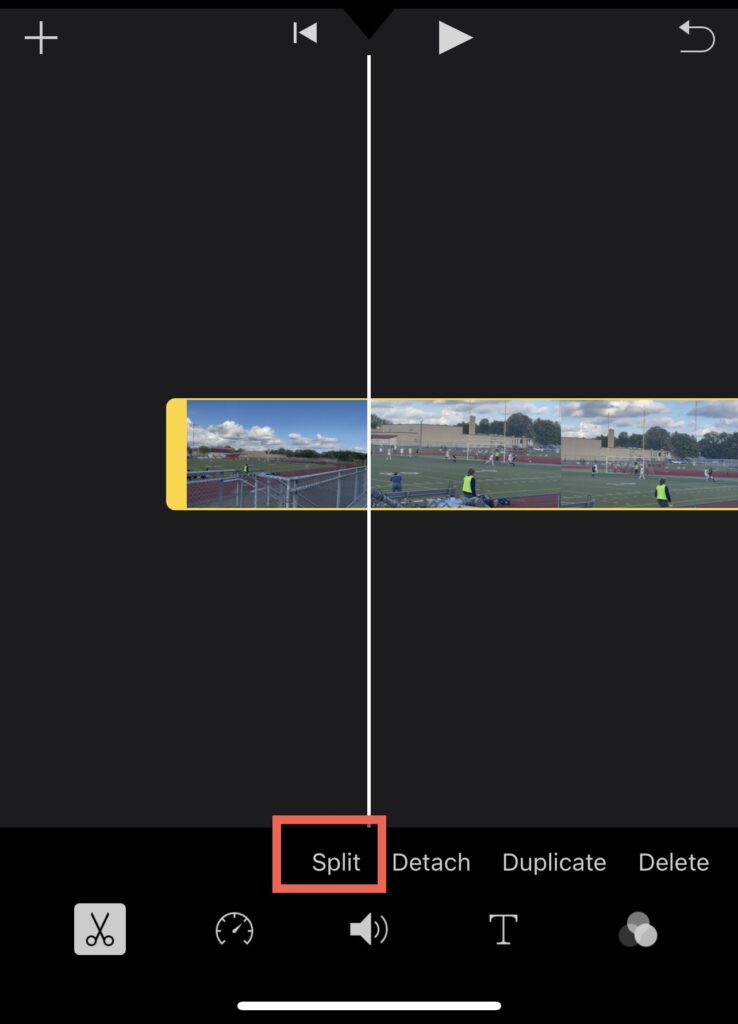
Next, click the “Split” button as shown in the screenshot above to start the process of splitting the clip.
- Choose the clip you want to change and tap on “Detach” to detach the audio

Now we want to detach the audio from the video clip. Click the “Detach” button to detach the audio part of the video clip.
- Tap the “Speed” button
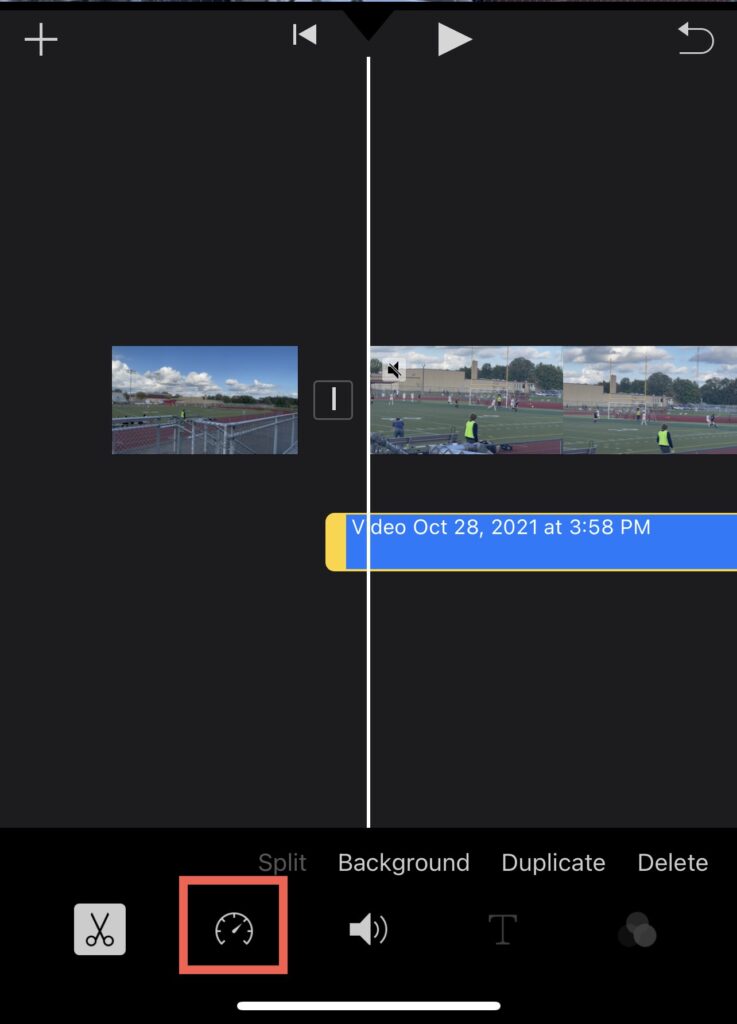
We want to adjust the speed of the audio so click on the “speedometer” button as shown in the screenshot above.
- Slide the speed setting either faster or slower to adjust
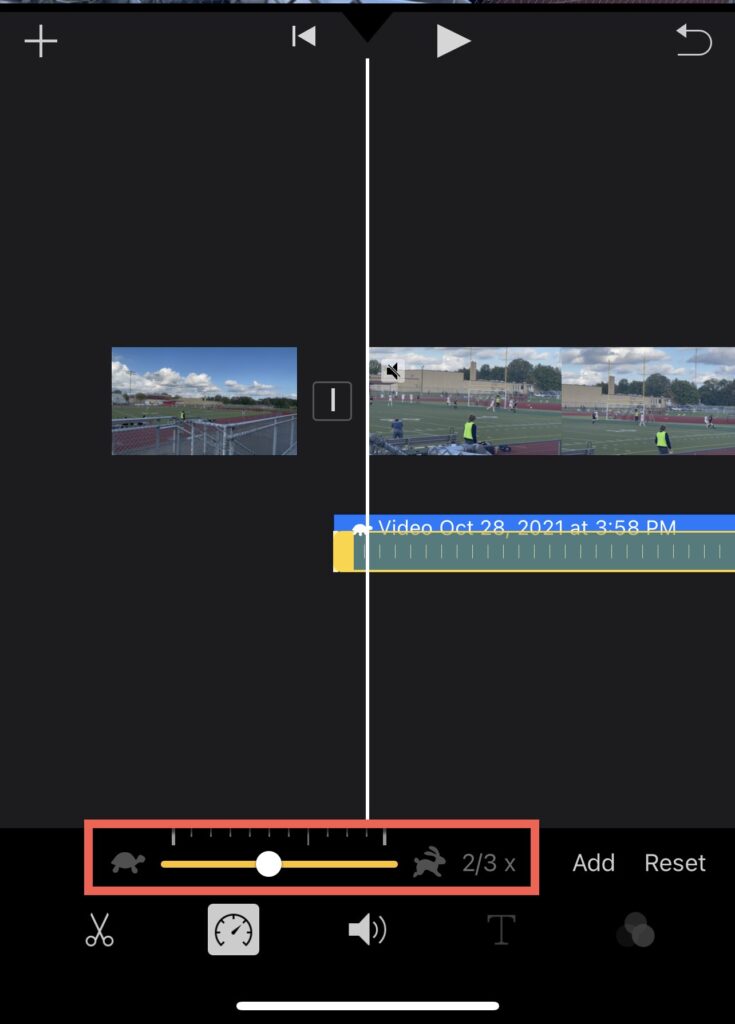
You should see the speed slider as shown in the screenshot above. If you want to deepen the voice pitch, slide the slider to the left. If you want to make the voice pitch higher, slide it to the right.
Tap outside the area to leave the speed settings screen
- Tap the “Project Settings” button
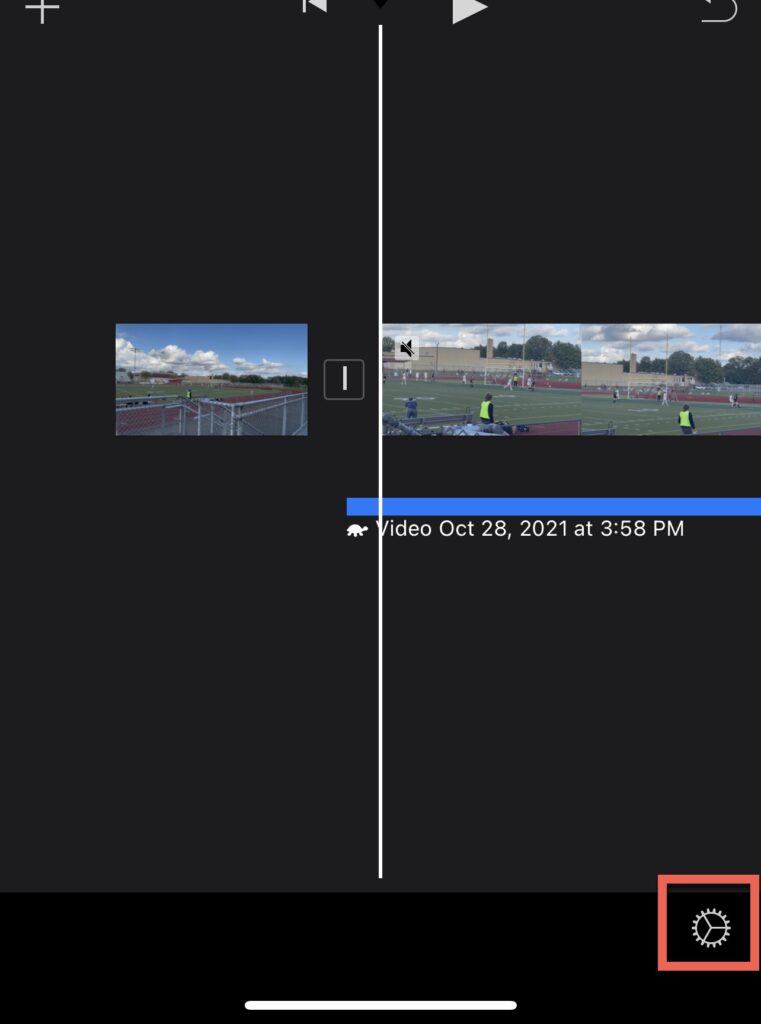
Next, click on the gear wheel button to bring up the project settings screen.
- Toggle on the “Speed changes pitch” setting
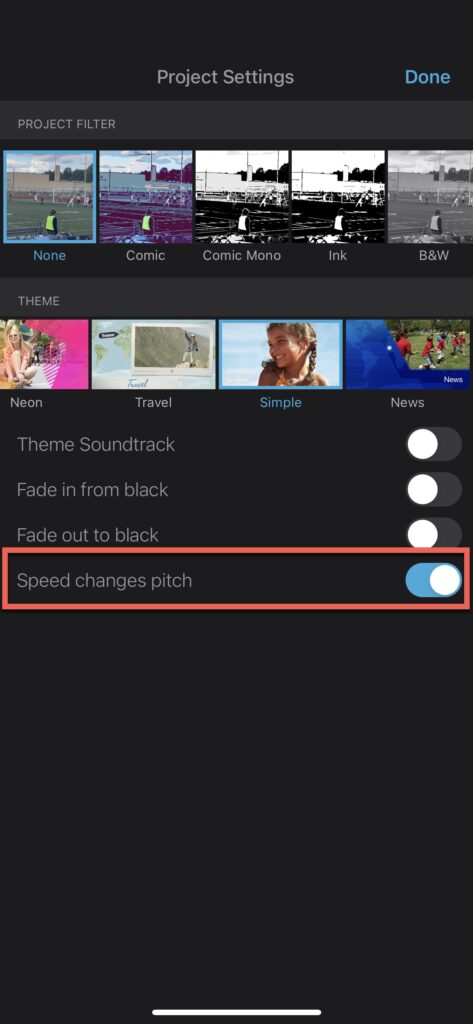
To allow the speed settings you set earlier to affect the pitch, toggle on the “Speed changes pitch” option as shown in the screenshot above.
This will make the voice deeper if you slow the audio down and higher if you speed it up.
If you ever have overexposed video and want to fix it in iMovie, you must check out our Guide to Fixing Overexposed Video in iMovie.
How to Make Voice Deeper or Higher in iMovie for iPad
To adjust voice audio to be deeper or higher in iMovie for iPad, do the following:
- Open up iMovie on your iPad to your project containing the clip you want to adjust
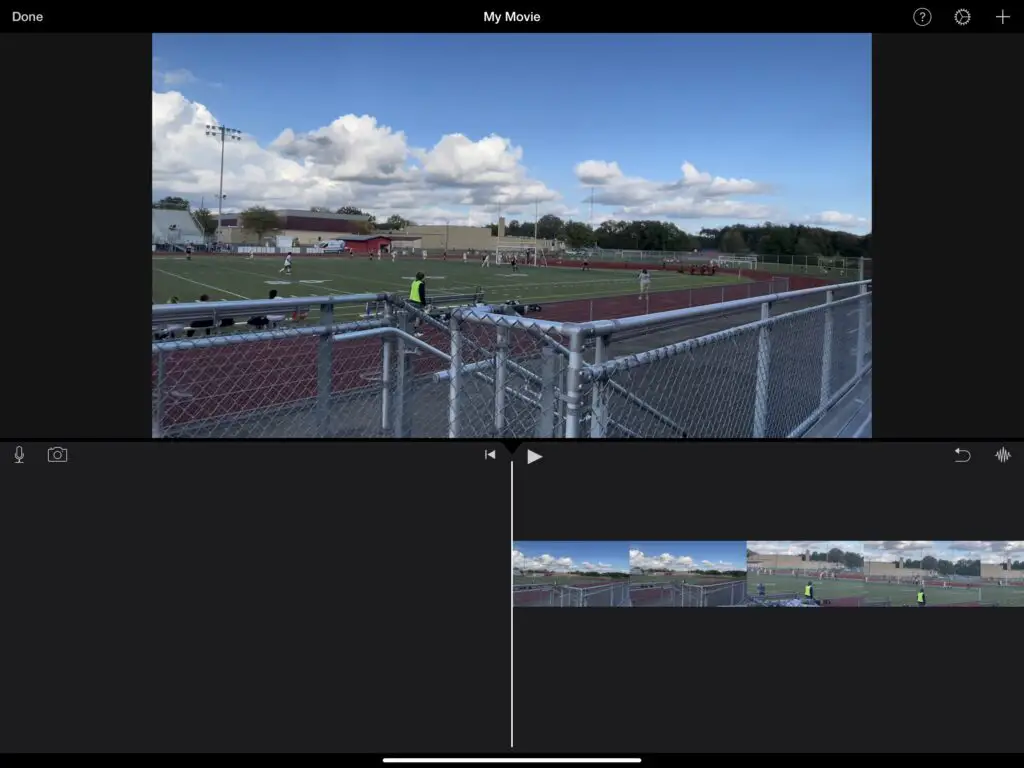
Open up iMovie to the project containing the video clip you want to change the voice pitch for.
- Choose the part of the clip you want to adjust by tapping on it
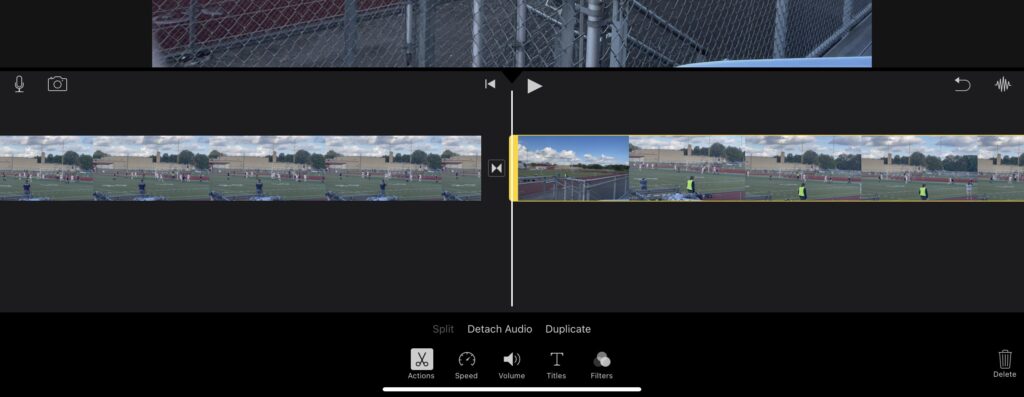
Next, choose the part of the audio clip where you want to make the voice deeper. When you tap on it, you will see the inspector at the bottom of the page.
- Tap the “Speed” button

You will see a speed button. It looks like the speedometer on a car. Click on the speedometer button.
- Drag the yellow bar to part of the clip you want to adjust

There will be a yellow bar across the video clip, and you can see range handles on each end. Within that range, you can either drag the yellow range handle, or you can tap on Add in the inspector to create another range.
- Drag the slider to the right to speed up the clip or to the left to slow it down
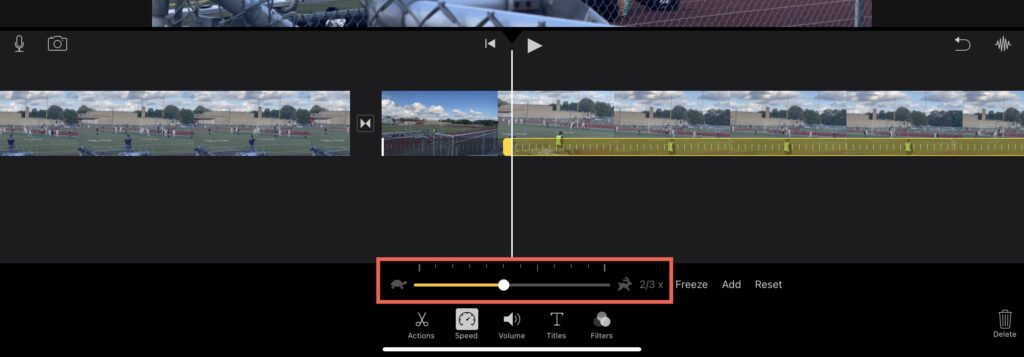
Drag the slider to the right to increase the speed, or you can move it to the left to decrease it. You will notice that 2x means you are moving at twice the speed, while 1/2x means half the speed.
- Tap on the inspector to dismiss it
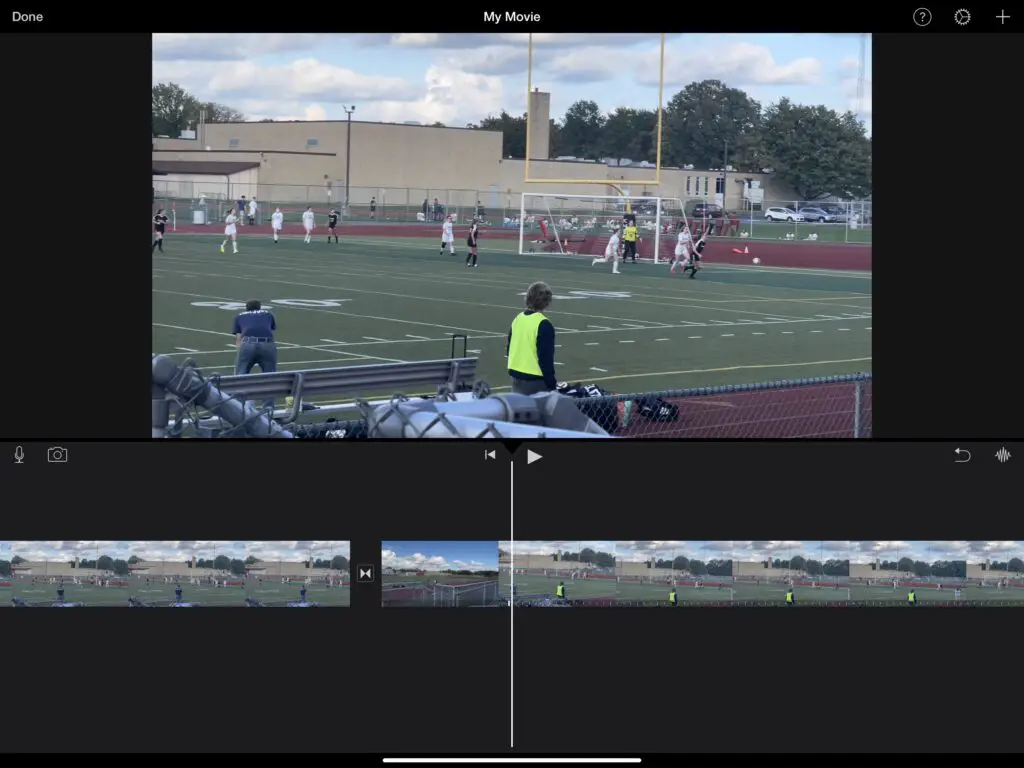
Tap anywhere on the screen to exit the speed settings screen.
- Tap on the “Project Settings” button
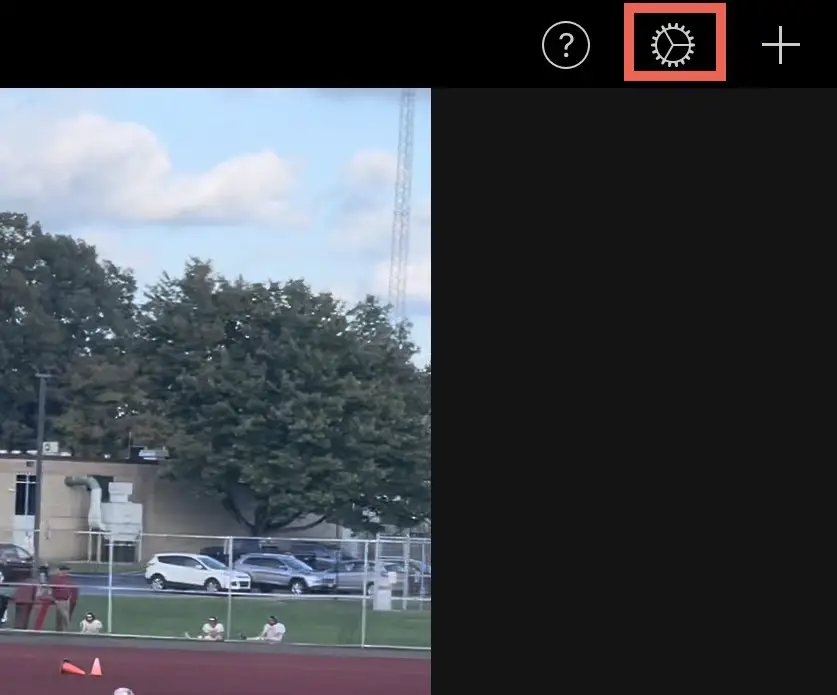
Next, click on the gear wheel button (aka the project settings button) as illustrated in the screenshot above.
- Tap on “Speed changes pitch“
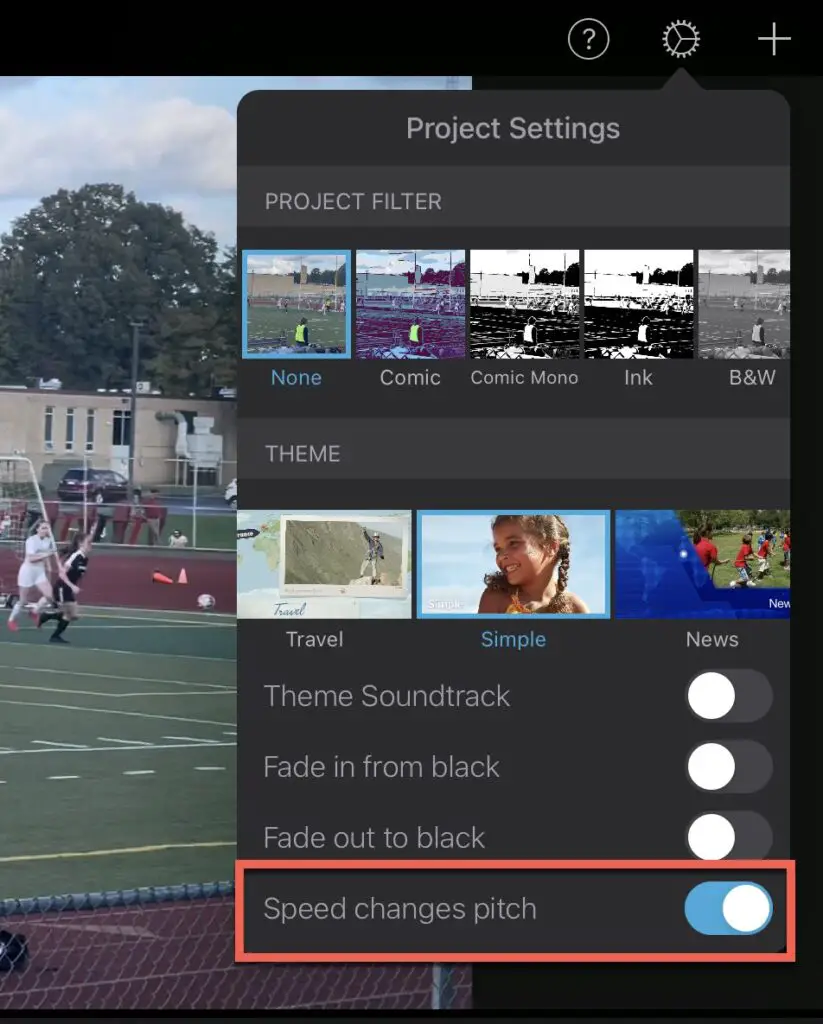
Click on “Speed changes pitch” button. Once you choose this setting, any recorded voice will be higher if you increase the speed or deeper if you decrease it.
I hope this tutorial was helpful to you. Good luck!
There is an amazing iMovie course, The Complete Guide to iMovie from Beginner to Expert that I recommend you check out.