
Working with Final Cut Pro provides challenges and rewards, and the more you grow accustomed to the software, the more you’ll be able to do with it. You may wonder how to use all those features and commands to create your desired video.
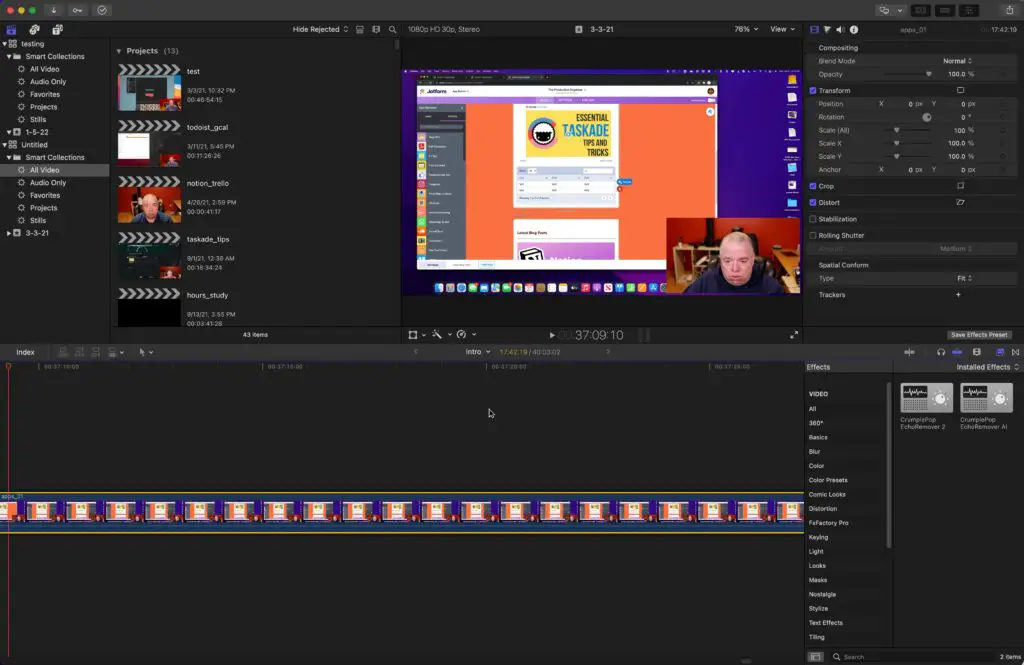
To work with video clips in Final Cut Pro, get to know your menu options; under the Tools menu, you’ll find various options for editing video, including the Blade tool, which allows you to split clips. You’ll also find tools and features in the Inspector that allow you to apply many effects.
If you are looking to master Final Cut Pro or any other applications in the video editing space, I highly recommend that you check out SkillShare. SkillShare offers a ton of great courses you can take for one low monthly fee.

I personally recommend Ali Abdaal’s Video Editing with Final Cut Pro X course. Ali does a great job of layering in each concept in a very easy-to-learn way that will have you becoming a Final Cut Pro ninja in no time.
Read on to learn more about working with video clips in Final Cut Pro. This tutorial will cover everything you need to know to split clips, mirror clips, color correct, and more.
How To Split Clips in Final Cut Pro
To split a video clip in Final Cut Pro, do the following:
- Click on the clip you wish to split to select it
- Move the playhead to the spot where you want to split the clip
- In the Main Menu, click Trim -> Blade to split the clip
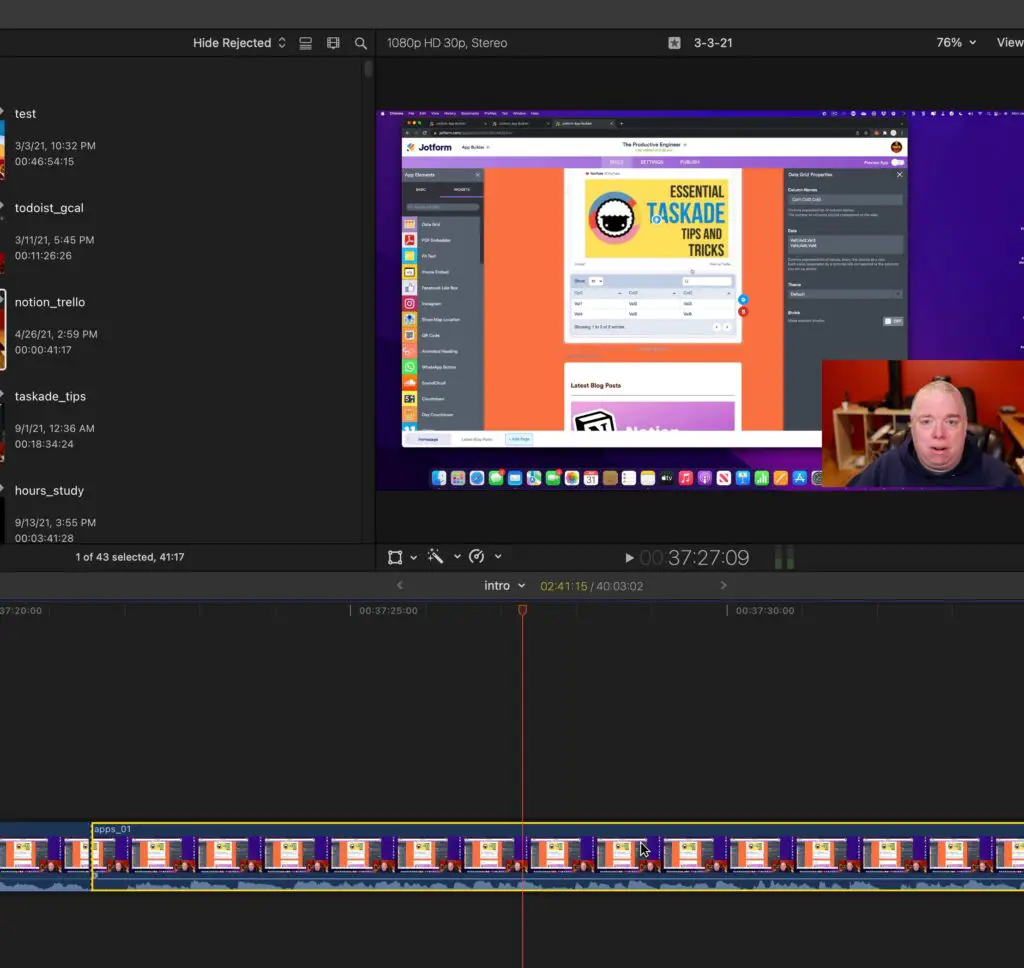
- Your clip will now be split into two clips
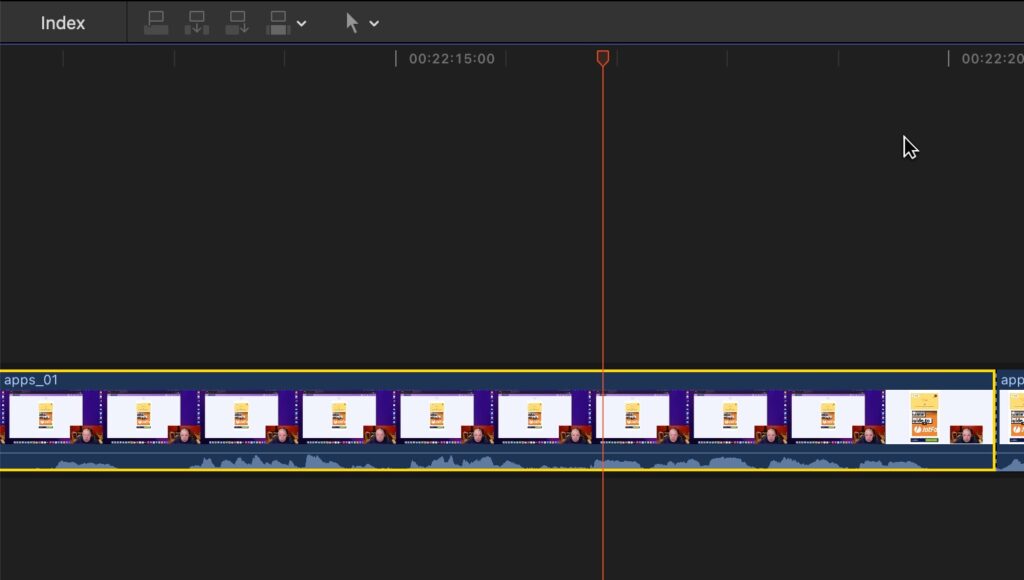
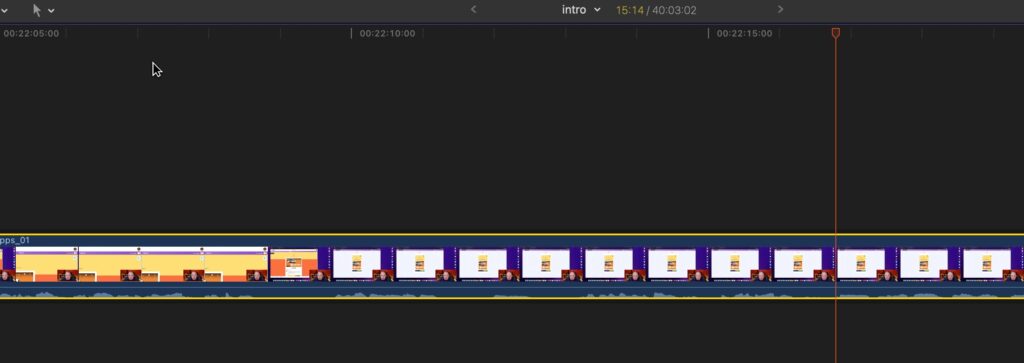
Click on the Clip You Wish to Split
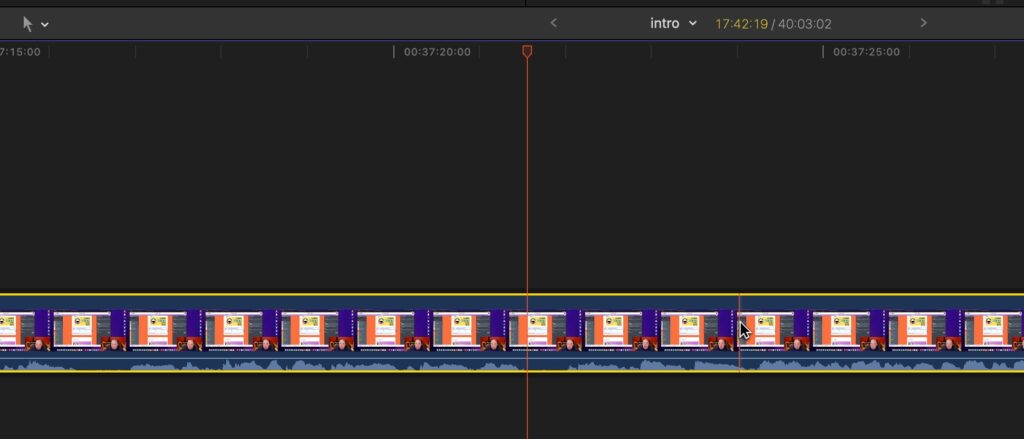
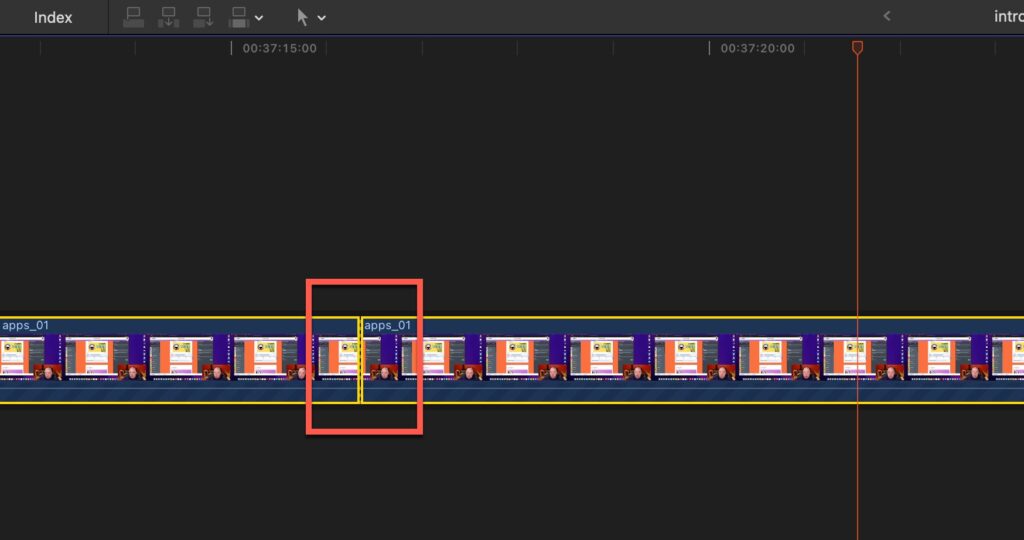
Open up your project in Final Cut Pro and, in the project timeline, click on the clip you wish to split. You should see a yellow box around your clip like the screenshot above. This will indicate to you that the clip is selected.
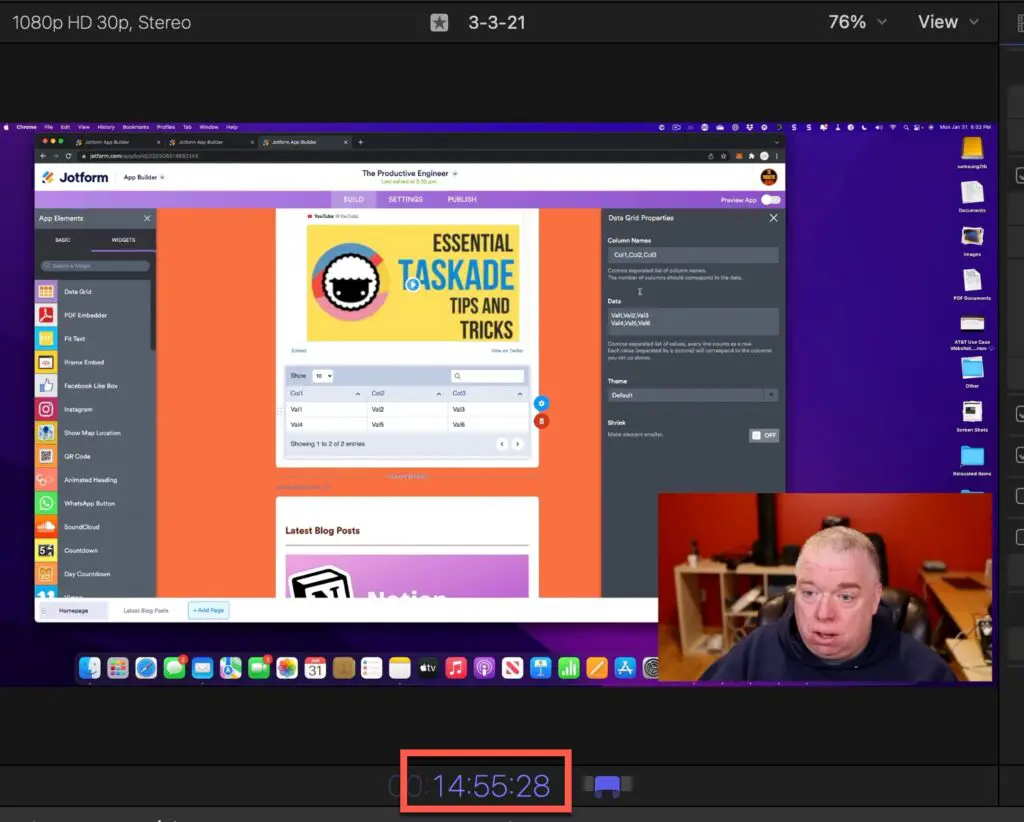
Move the Playhead to the Spot Where You Want to Split the Clip
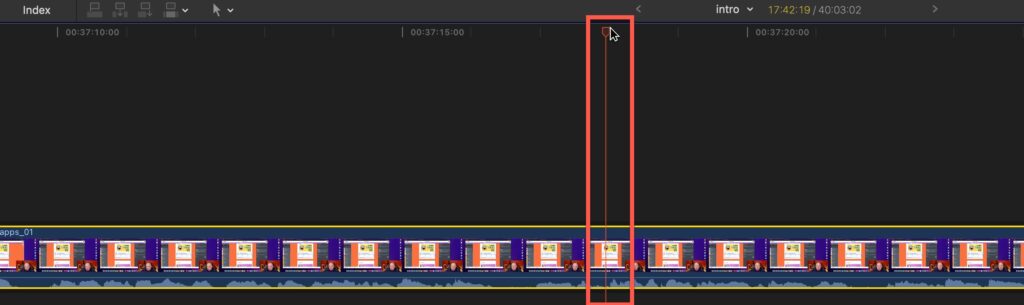
Next, move the playhead (red line) to the spot where you want to split the video clip.
In the Main Menu, click Trim -> Blade to Split the Clip
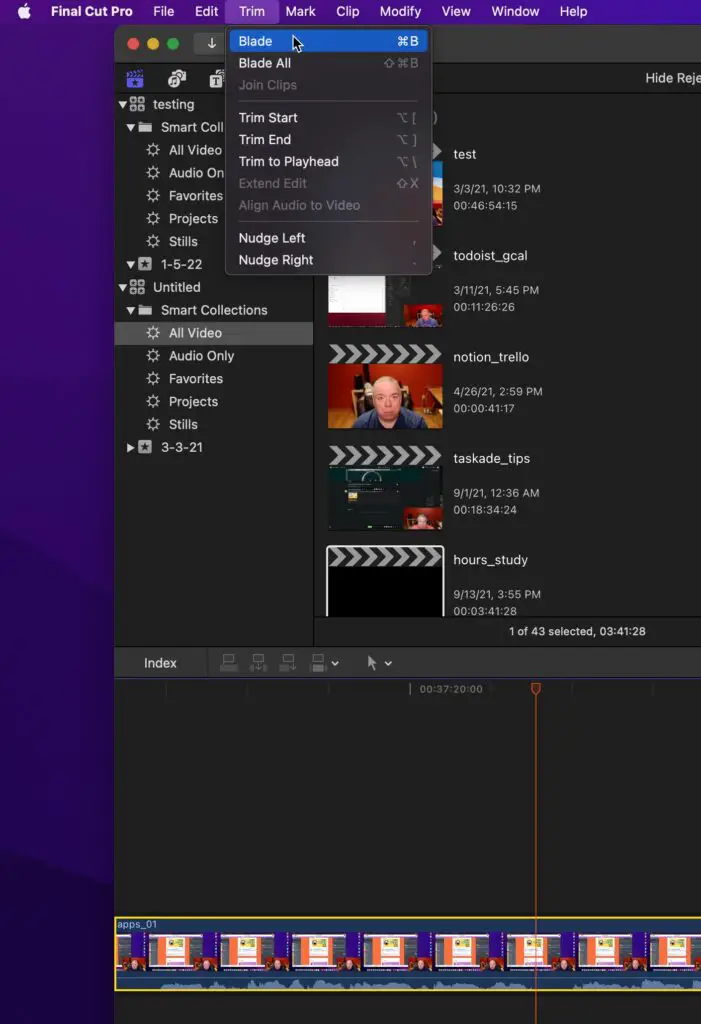
In the main menu, click Tools -> Blade to split the video clip into two separate clips.
You can also split clips during playback by pressing Command + B.
If you change your mind or want to move the separation point, you can select both adjacent clips and use Trim > Join Clips to reunite them into one.
Want to learn how to loop video in Final Cut Pro? Check out our Detailed Guide to Looping Video in Final Cut Pro.
How To Split Audio and Video in Final Cut Pro
Sometimes you what to have the audio and the video of a clip in two separate clips so that you can edit them independently.
To split (detach) the audio from the video of a clip in Final Cut Pro, do the following:
- Select the clip you want to separate the audio from the video for by clicking on the video clip
- In the main menu, navigate to Clip -> Detach Audio to separate the audio from the video clip
- The audio should now be in a separate clip from the video clip
Select the Video Clip
First, select the video clip you want to separate or detach the audio from by clicking on the clip as shown above.
In the Main Menu, Navigate to Clip -> Detach Audio
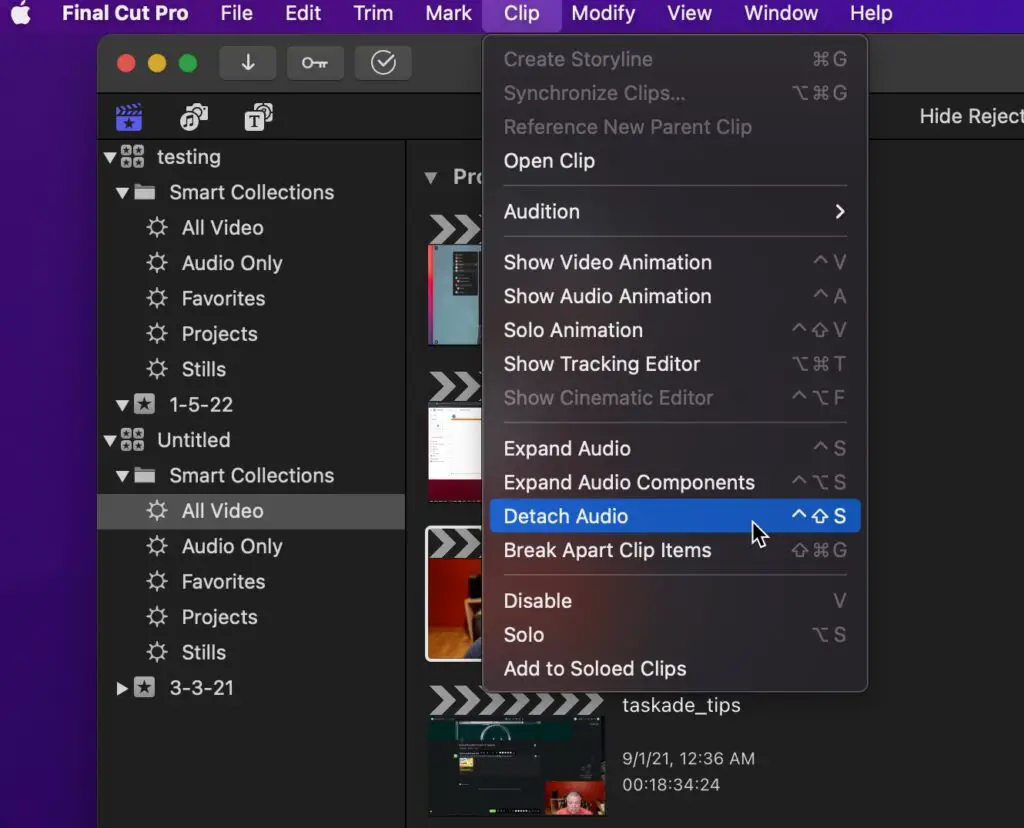
In the main menu, go to Clip -> Detach Audio to separate the audio from the video clip. Alternately, you can use the keyboard shortcut Control-Shift-S.
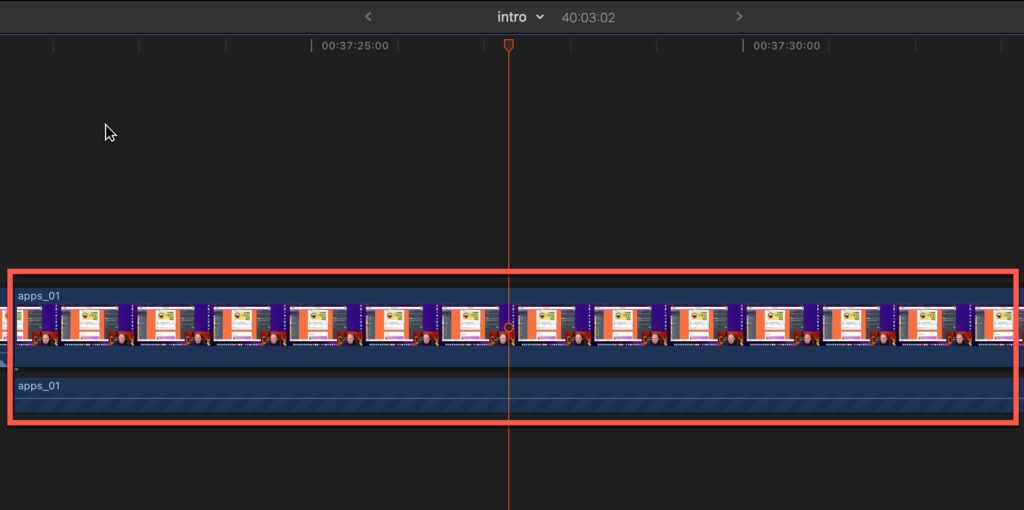
The audio should now be in a separate clip from the video clip
Can You Separate a Compound Clip in Final Cut Pro?
Yes you can. To separate a compound clip in Final Cut Pro, do the following:
- Click on the video clip to select it
- In the main menu, go to Clip -> Break Apart Clip Items
- Your compound clip should now be separated
Select the Compound Video Clip
Click on the compound clip to select it.
Go to Clip -> Break Apart Clip
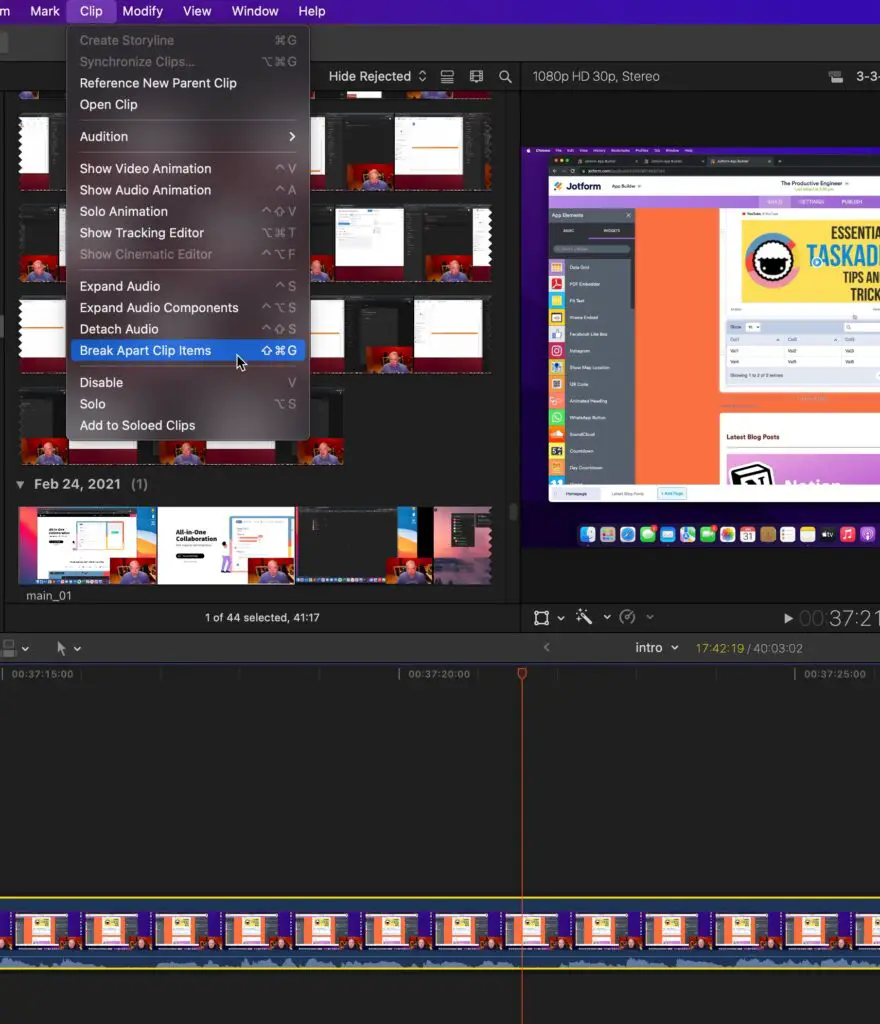
Next, in the main menu, go to Clip -> Break Apart Clip Items. Alternately, you can use the keyboard shortcut Shift-Command-G.
Your compound clip should now be separated.
How To Duplicate a Clip in Final Cut Pro
To duplicate a clip in Final Cut Pro, do the following:
- Go to the Libraries sidebar and select the event that contains the clips you want to copy.
- Click Edit -> Duplicate Clip or use the keyboard shortcut Command + D. The duplicated items will appear in the browser, right next to the originals.
Select Clip from Library
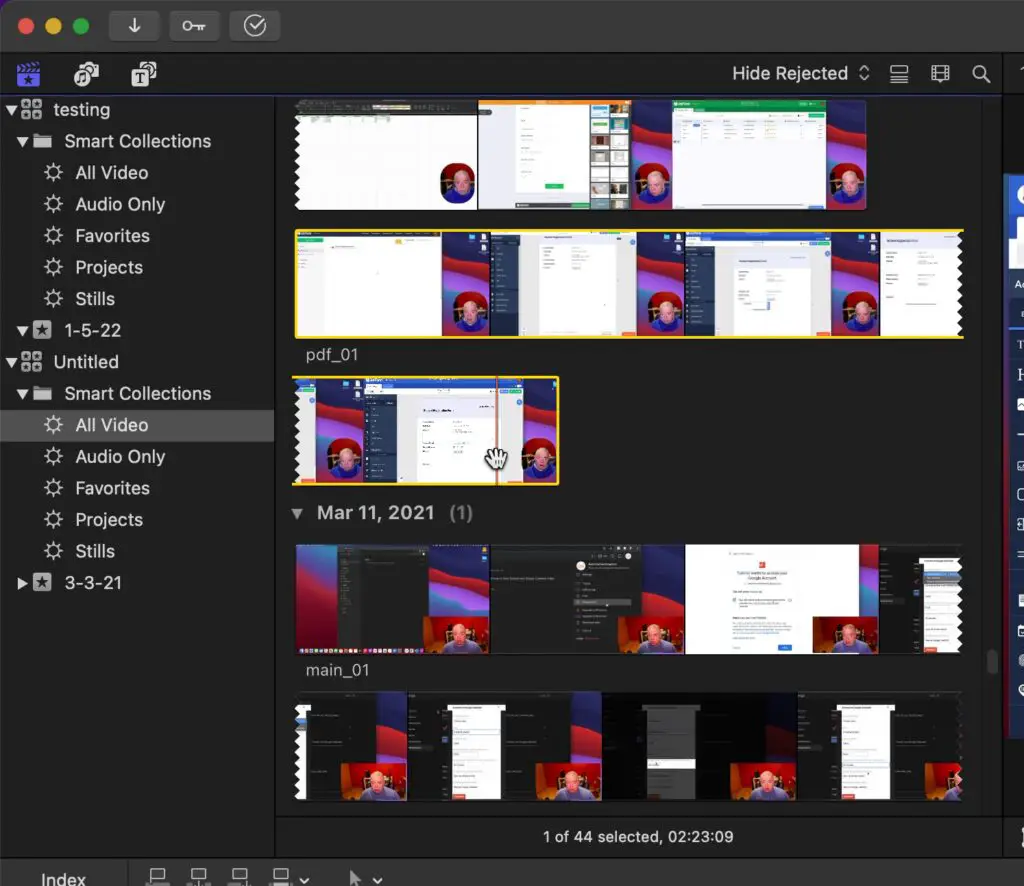
Go to the Libraries sidebar and select the event that contains the clips you want to copy by clicking on it as shown in the screenshot above.
Click Edit -> Duplicate Clip or use the keyboard shortcut Command + D
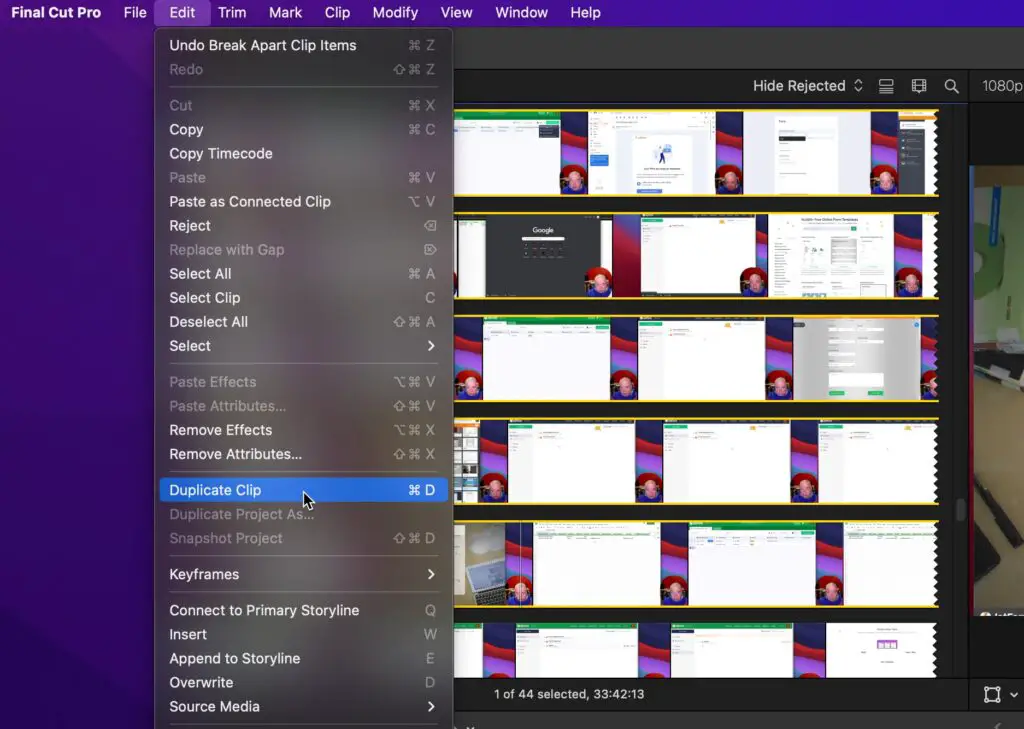
In the main menu, navigate to Edit -> Duplicate Clip.
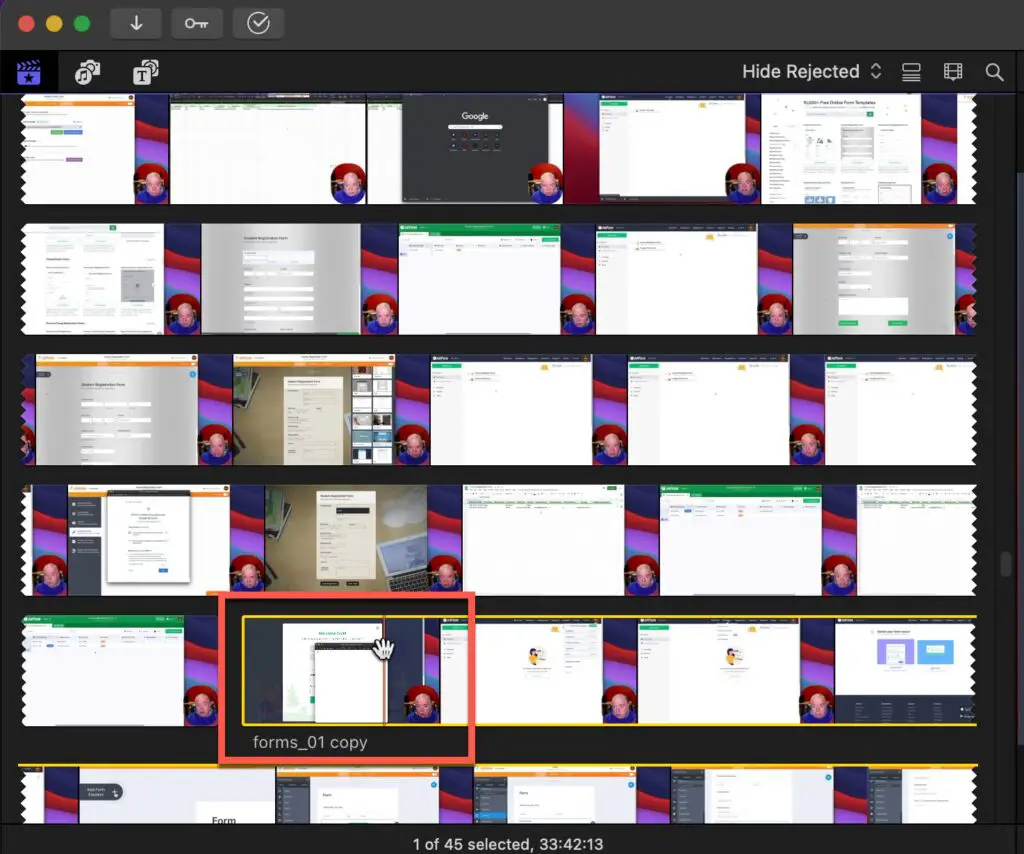
You should now have a duplicate of your original clip in your library as shown in the screenshot above.
Looking to learn how to mask video in Final Cut Pro? Then you must check out Our Masking Video Guide for Final Cut Pro.
How To Speed Up a Clip in Final Cut Pro
To speed up a clip in Final Cut Pro, do the following:
- Select the clip you want to speed up
- In the main menu, go to Modify -> Retime
- Select either Fast and the preset speed option or select custom speed
Select the clip you want to speed up
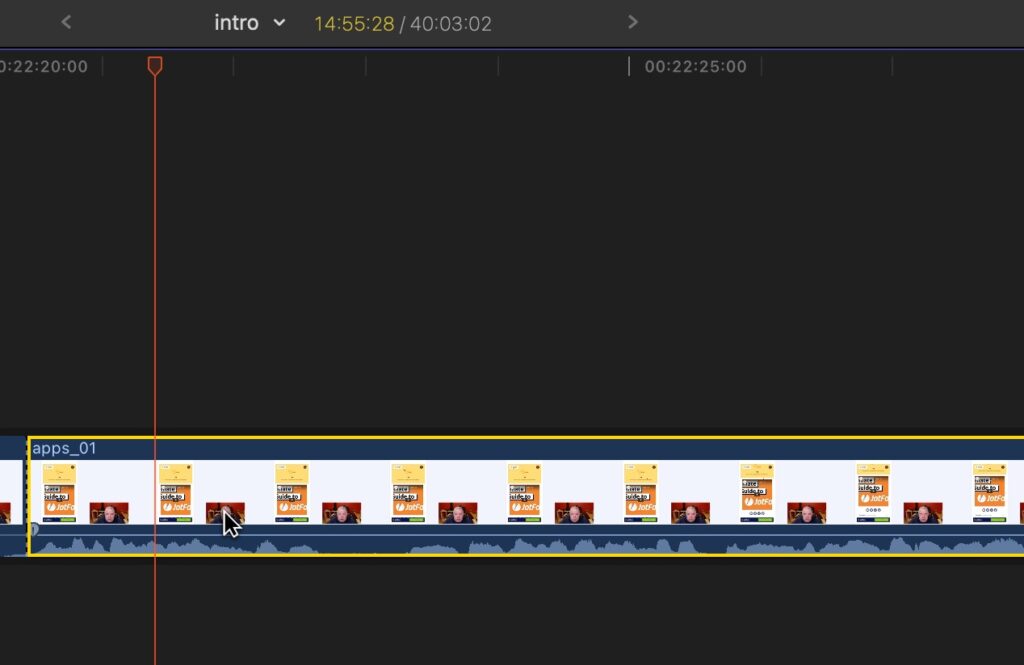
Select the clip you want to speed up by clicking on it as shown above.
Go to Modify -> Retime
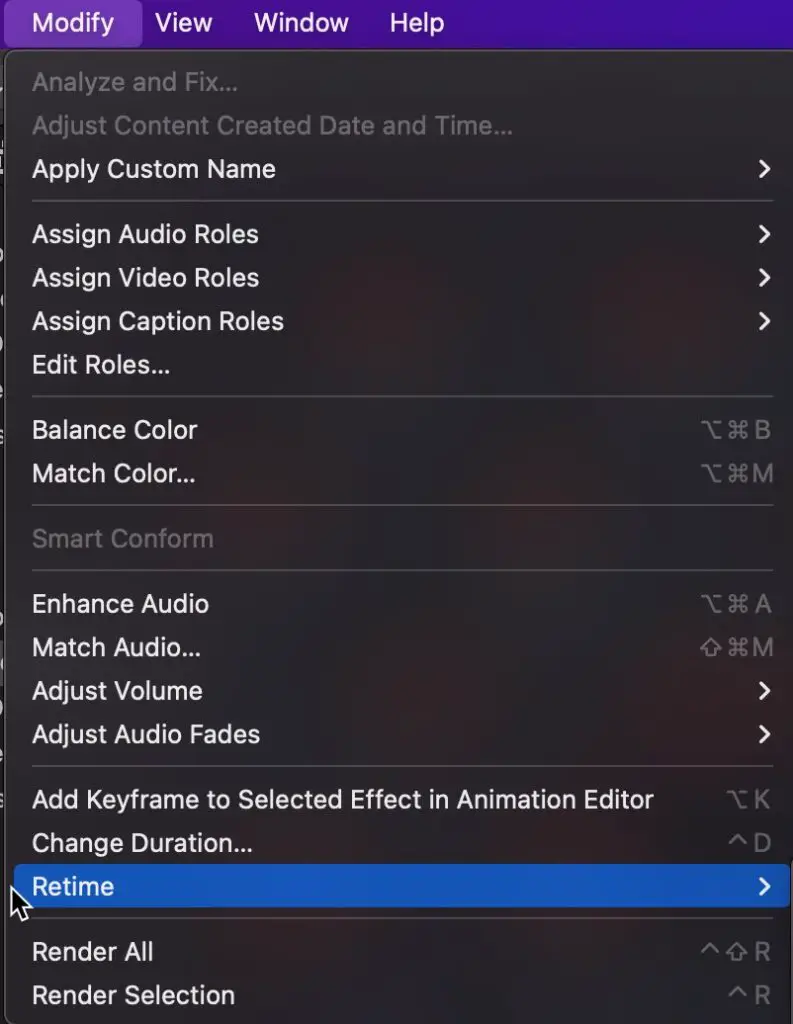
In the main menu, go to Modify -> Retime to access the retime options.
Select Either Fast and the Preset Speed Option or Select Custom Speed
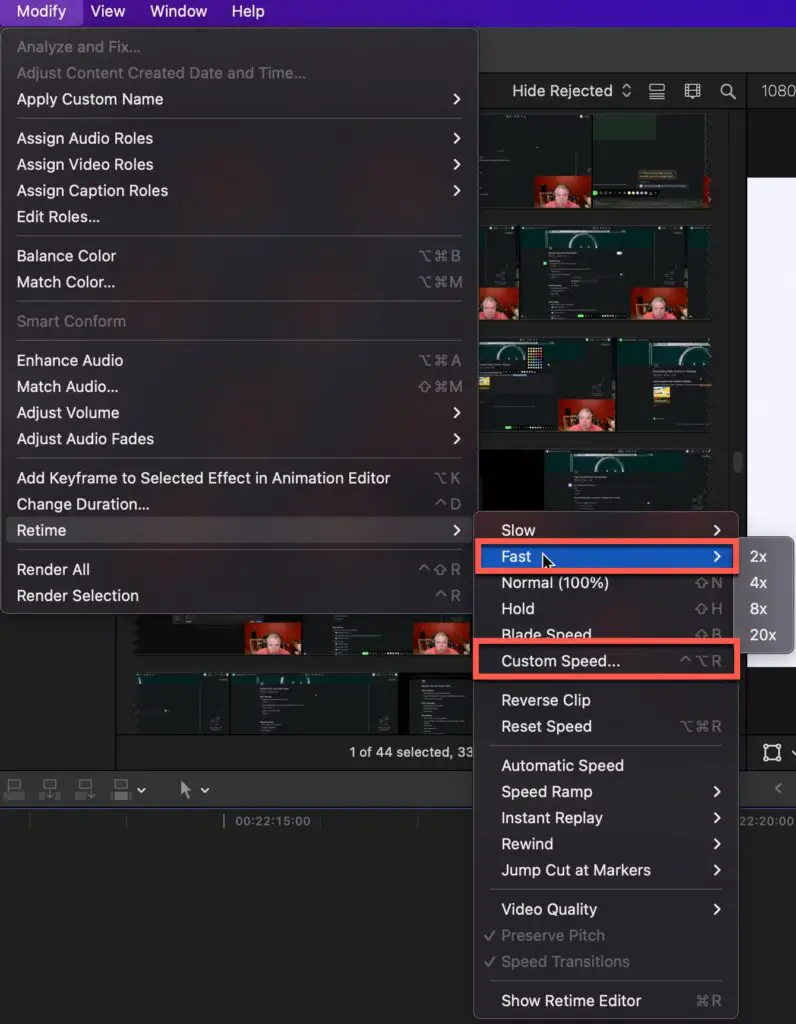
Once in the Retime menu, select either fast and the preset you want or custom speed to set your own custom speed as shown in the screenshot above. For this demo, I will choose Fast -> 2x.
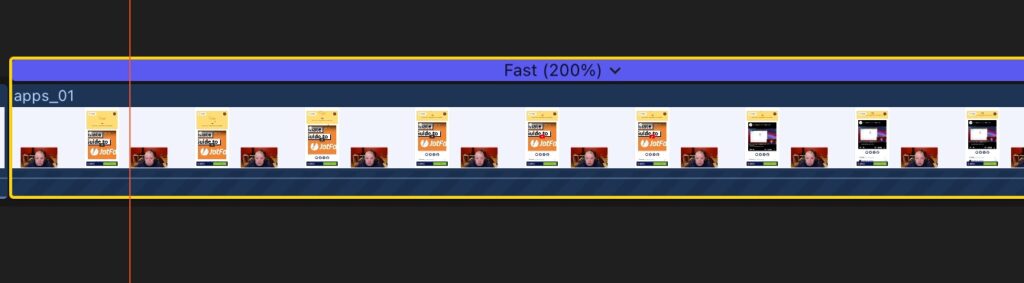
Your clip should now show with the speed you set as shown in the screenshot above.
If you spend any time editing video in Final Cut, you must look into getting a Stream Deck from Elgato. The Stream Deck automates many of your repeated tasks and process in Final Cut as well as other applications. I love my Stream Deck as it saves me a ton of time editing videos for my YouTube channel.

How To Change the Duration of a Clip in Final Cut Pro
To change the duration of a clip in Final Cut Pro, do the following:
- Click on the clip to select it
- Go to Modify -> Change Duration
- Double-click the time stamp under the preview image
- Type in the duration you want and hit Enter
- Your new duration will be set for the clip
Select the Clip
Click on the clip in the timeline you want to change the duration for.
Go to Modify -> Change Duration
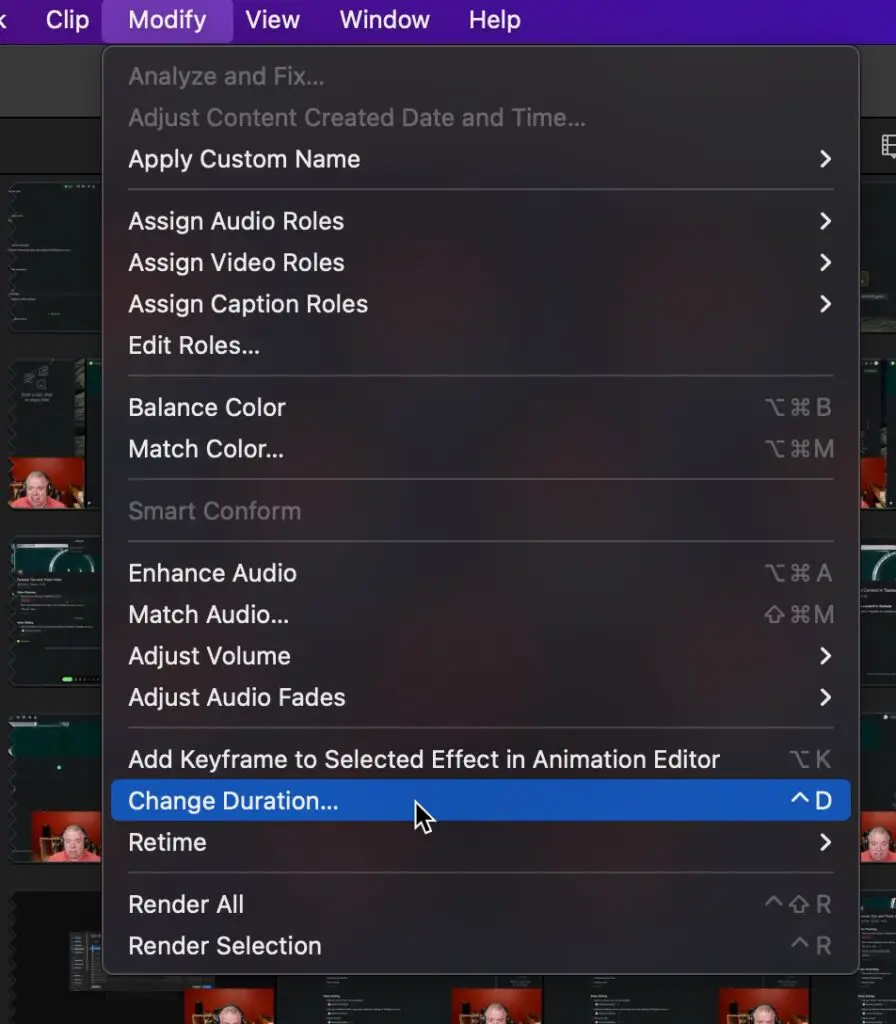
Next, in the Main Menu, navigate to Modify -> Change Duration.
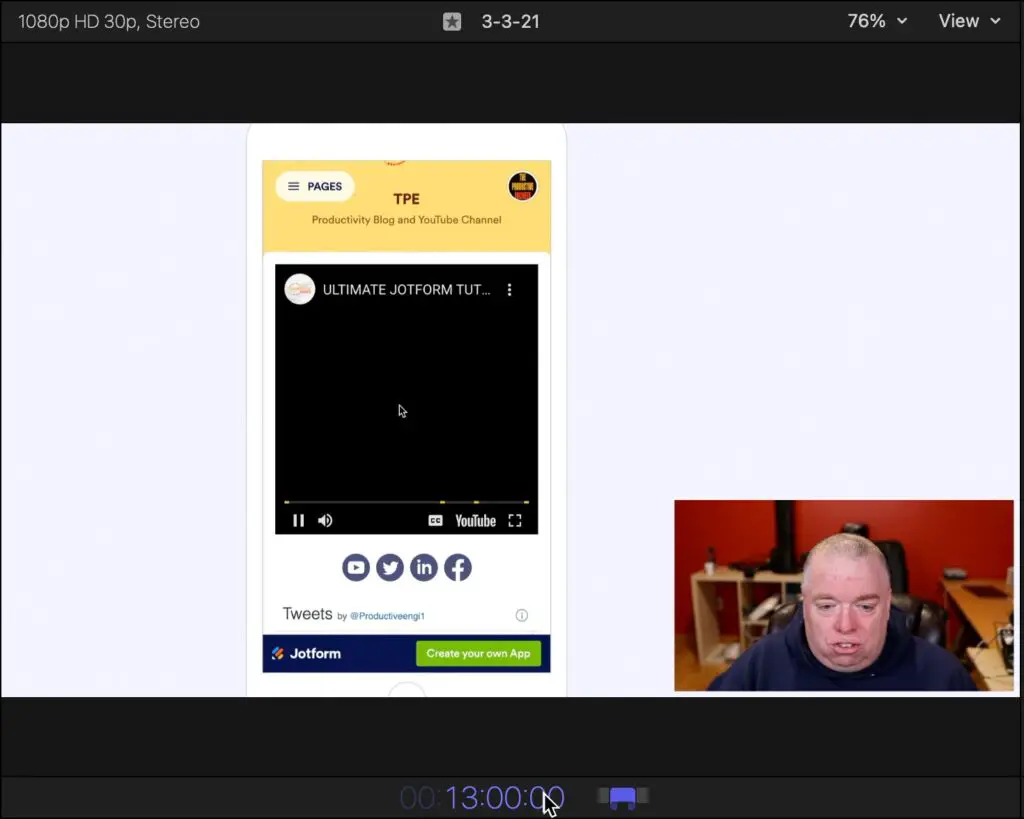
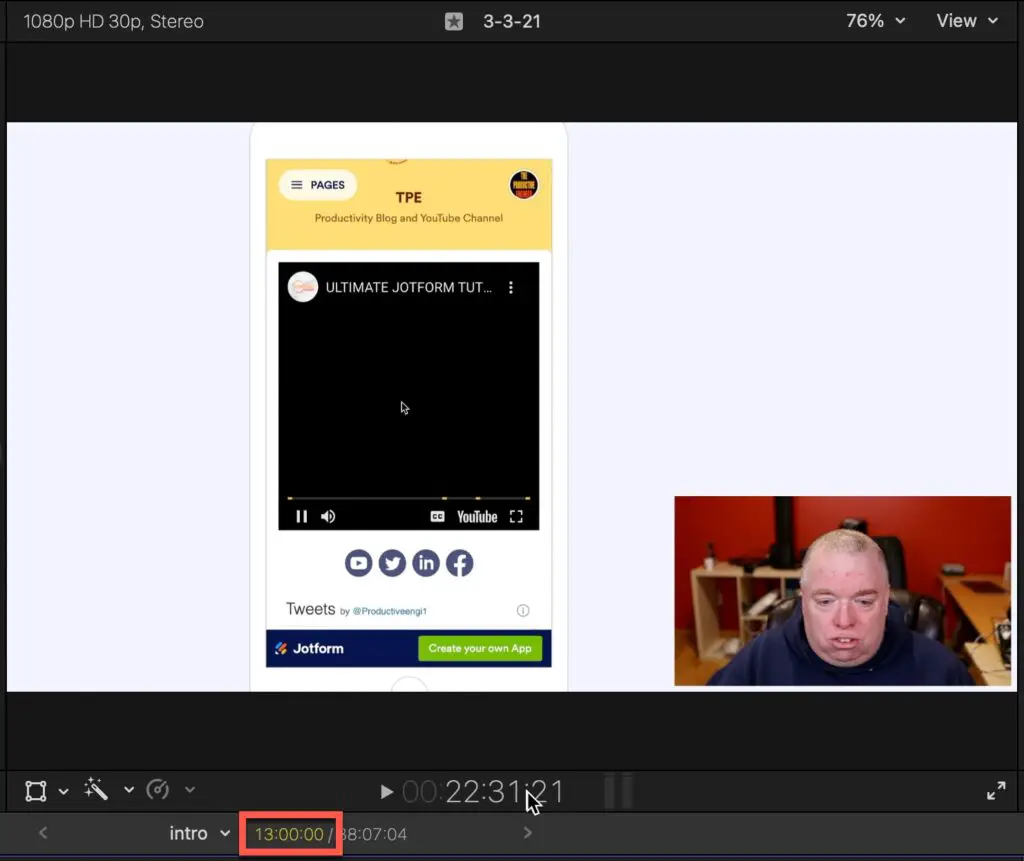
Double-click the Time Stamp Under the Preview Image
You should notice that the timestamp for the selected clip has changed to purple as shown in the screenshot above.
Type in the Duration You Want
After double-clicking on the timestamp, type in the total duration you want for the clip and press Enter to save it.
You should now see your clip having your new duration.
How To Reverse a Clip in Final Cut Pro
To reverse a clip in Final Cut Pro, do the following:
- Select the clip you want to reverse
- In the Main Menu, go to Modify -> Retime -> Reverse Clip
- Your clip should now be reversed
Select the Clip
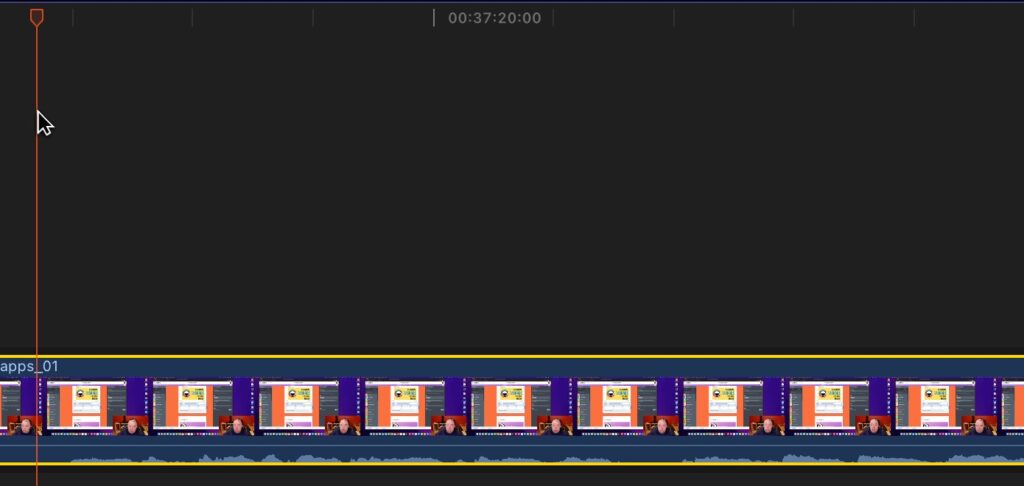
In the timeline, select the clip that you wish to reverse.
Go to Modify -> Retime -> Reverse Clip

Next, in the main menu, go to Modify -> Retime -> Reverse Clip as shown in the above screenshot.
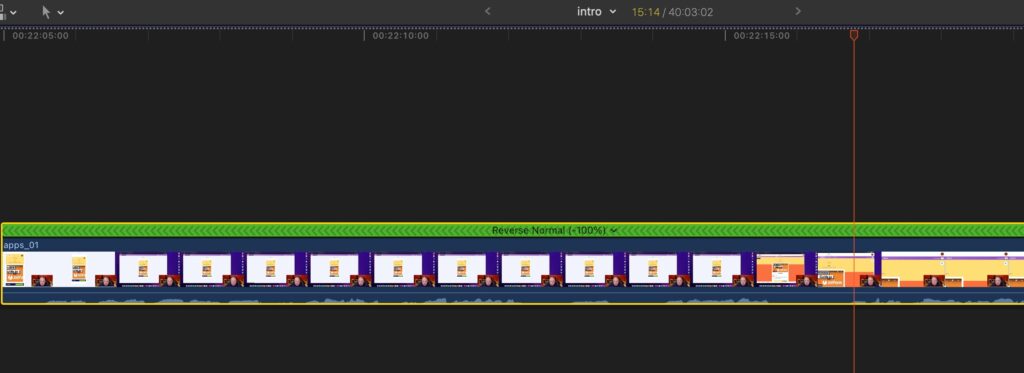
Your video clip should now be reversed as shown in the screenshot above.
How To Rotate a Clip in Final Cut Pro
To rotate a clip in Final Cut Pro, do the following:
- Select the frame or clip you want to rotate
- Click Transform in the lower-left corner of the Preview window. (You can also access this tool by pressing Shift + T).
- Click and drag the cursor to rotate the video how you like
- When you’re done, click Done
Select Frame or Clip to Rotate
In the timeline, select the frame or clip you want to rotate by clicking on it.
Click Transform

As shown in the screenshot above, click on the transform tool button and select Transform. The transform button is in the lower left corner of the video preview window.
Click and Drag the Cursor Inside the Preview Window to Rotate
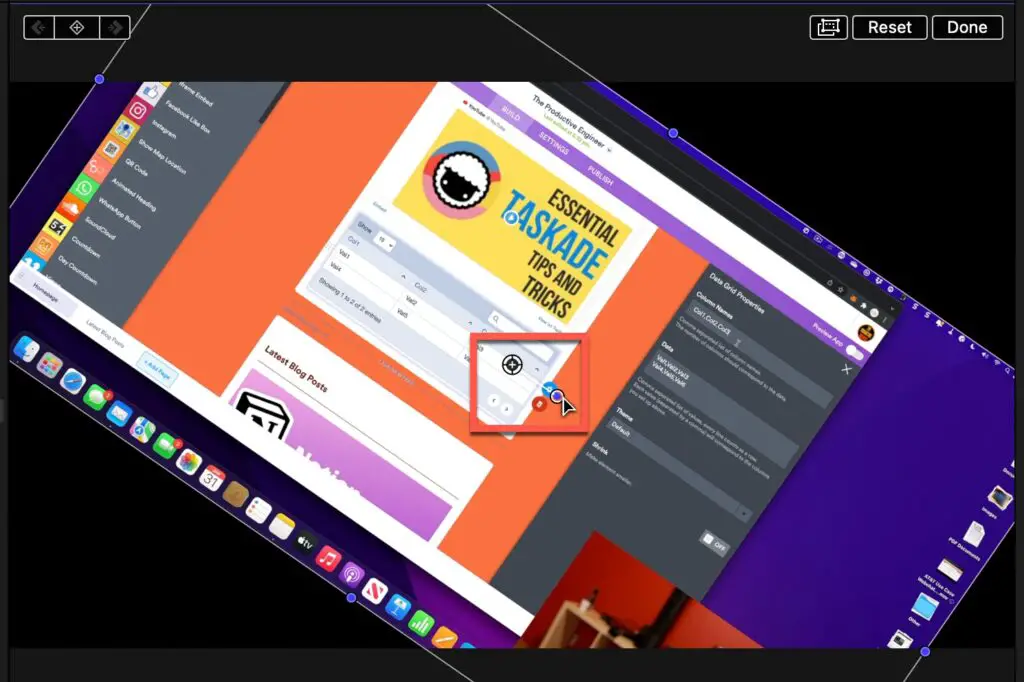
When the Transform tool is active, you’ll see that the cursor is a Rotate symbol inside the preview window. You can then click and drag the cursor as shown above to rotate the video how you like.
Click Done to Save Rotation
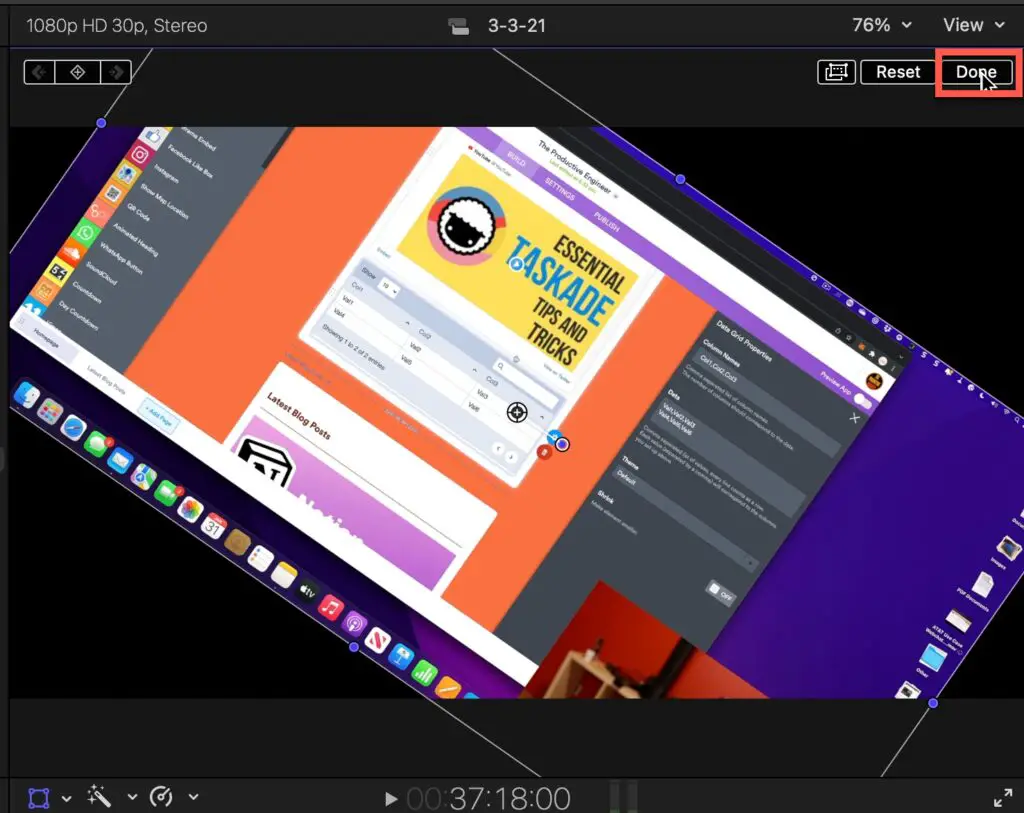
When you’re done, click Done to save your rotation setting.
How To Zoom in on a Clip in Final Cut Pro
There are two ways to zoom in on a clip in Final Cut Pro: adding the Ken Burns effect and using the transform effect.
Use the Ken Burns Effect in Final Cut Pro
To use the Ken Burns zoom effect in Final Cut Pro, do the following:
- Select the clip you want to zoom in on
- Click on the Transform icon at the bottom of the viewer and select Crop
- Choose Ken Burns from the available selections to apply it to your clip.
- Adjust the Start and End rectangles to set the effect and click Done to save your settings
Select the Clip You Want to Apply the Ken Burns Effect to
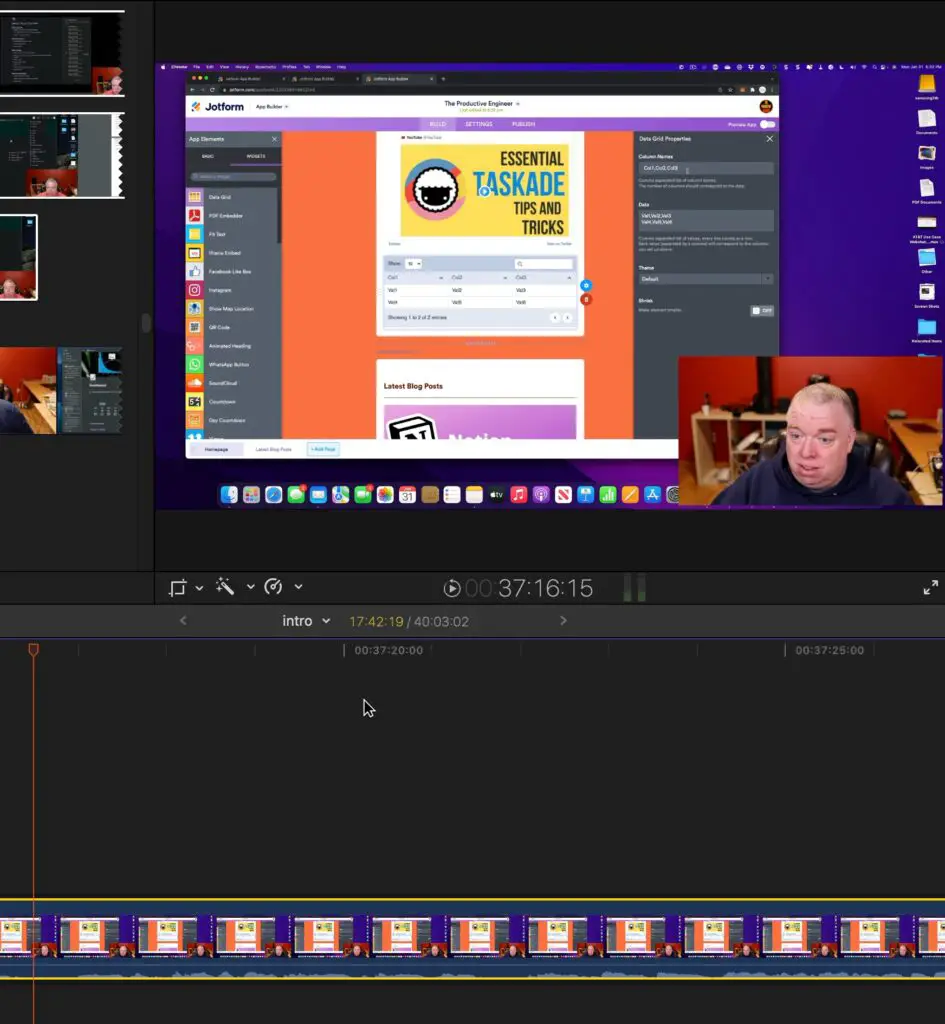
Click on the clip in your project timeline to select the clip you want to apply to.
Click the “Transform” Icon and Select “Crop”
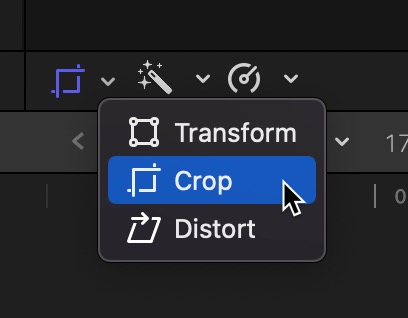
Next, click on the Transform tool drop-down menu and select Crop from the available options as shown in the screenshot above.
Choose “Ken Burns” to Apply Effect to the Clip
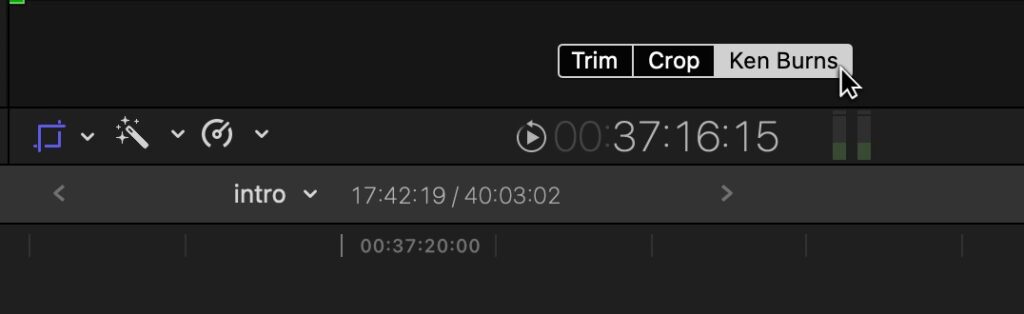
Underneath the video preview window, you should see three options:
- Trim
- Crop
- Ken Burns
Choose Ken Burns by clicking on it as shown in the screenshot above.
Adjust the “Start” and “End” Rectangles
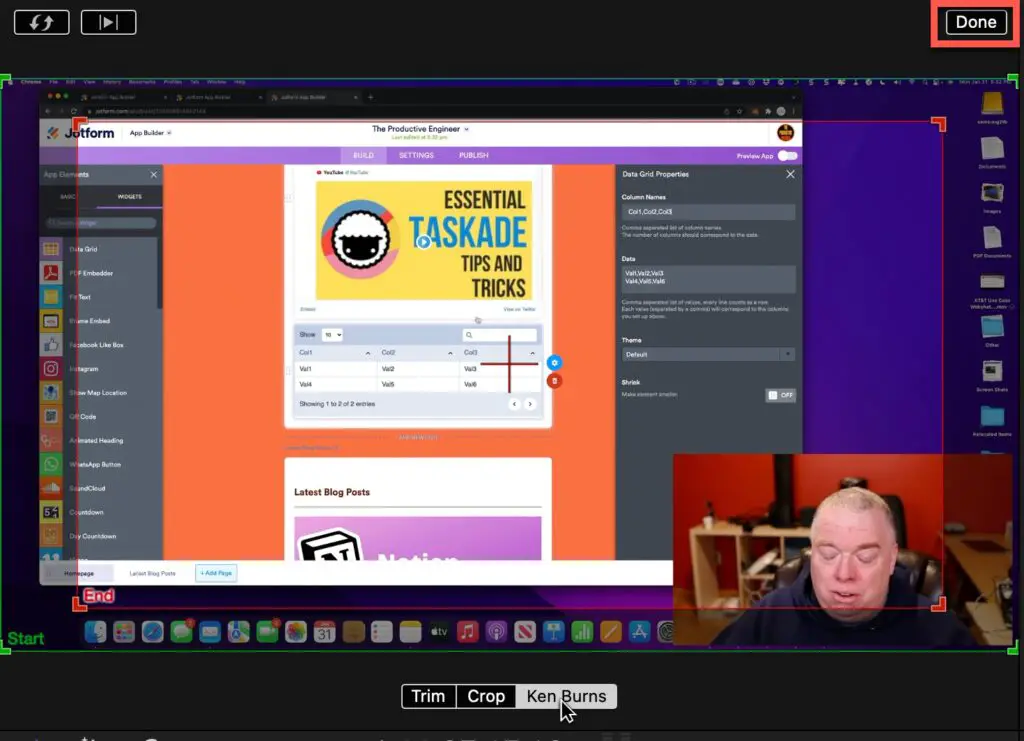
Finally, adjust the green and red (start and finish) rectangles to set how the effect will be applied to the clip.
Use the Transform Effect in Final Cut Pro
To zoom using the Transform effect, do the following:
- Start by adding keyframes to your transform tools.
- Move the Playhead to the point where you want the animation to start
- Select the right clip in the timeline.
- In the Effects Control, open the Transform menu and adjust the Scale and Position settings.
- Next to the Scale and Position settings is the Keyframe icon.
- Click it to set the Size and Position of your video clip.
- Move the Playhead to the ending point of the animation
- Create a second Keyframe with a different Size and Position.
How To Flip or Mirror a Clip in Final Cut Pro
To flip or mirror a clip in Final Cut Pro, do the following:
- First, select your clip
- Go to your Inspector on the right-hand side of the application
- Click Transform. This will show x and y settings.
To flip the clip over a vertical axis, mirroring the clip, click on the x box and enter -100. To flip the clip over a horizontal axis, set y to -100.
How To Add Effect to Multiple Clips in Final Cut Pro
One way to add an effect to multiple clips in Final Cut Pro is to copy and paste the effect from one clip to the next. To do so, do the following:
- Right-click on the clip and choose Copy
- Go to the menu and click Edit > Paste Attributes.
- You’ll see a popup video with options including different effects from the first video that you might want to carry to the next.
- Go back to the menu and click Edit > Paste Effects or press Alt + Cmd + V to paste in your effects to a new clip.
You can also apply an effect to multiple clips by creating one compound clip. You can do this by clicking File > New > Compound Clip.
Additionally, you can save an effect and then use it as a preset value for future projects.
To do this, click the Save Effects Preset button in the lower-right corner of the Video Inspector. It will open a window where you can choose a name and category for the effects and an attributes menu that allows you to select which effects you want to be included.
How To Color Correct All Clips in Final Cut Pro
To color correct all clips in Final Cut Pro, you can use the Match Color Feature. You’ll need to find at least one clip or frame that you’ve edited to reflect the color correction you desire, then use this feature to apply it to all the rest of the clips.
- Press Option + Command + M or clicking Modify > Match Color.
- Or, you can click on the Enhancements button to open the menu.
- Select the frame you want to match
- Click on a clip in the timeline to which you want to apply the effect.
- You’ll have the option to look at the result before clicking Apply Match and changing the color effect in your clip.
How To Add Transitions to All Clips in Final Cut Pro
To add transitions to all clips in Final Cut Pro, do the following:
- Add the transition you want to the first clip
- Either save the preset or copy and paste to add the transition to the rest of the clips in your project.
- The process is the same as the process for adding any other animation or transformation to your project.
Conclusion
Final Cut Pro may seem intimidating at first, but with a few how-tos, you’ll be able to master working with video clips in no time. The various menus and commands available will allow you to flip videos, apply color corrections, and apply numerous other edits to your project.
If you are looking to improve your video editing game, you must check out the mKeynote with iJustine Final Cut Pro plugin. It provides more than 100 clean, well-designed presets. For more information on the mKeynote plugin, click the link below:
Sources
- Apple Support: Cut clips in two in Final Cut Pro
- Apple Support: Duplicate projects and clips in Final Cut Pro
- Apple Support: Change clip speed in Final Cut Pro
- Apple Support: Reverse or rewind clips in Final Cut Pro
- 24/7 Shutterstock Customer Support & Help: How To Rotate Video in Final Cut Pro
- Motion Array: How to Zoom in Final Cut Pro X
- Final Cut Studio: How to Flip a Clip in Final Cut Pro X 10.1.2
- Neat Blog: Applying Effects to Several Clips in Final Cut
- Apple Support: Match color between clips in Final Cut Pro